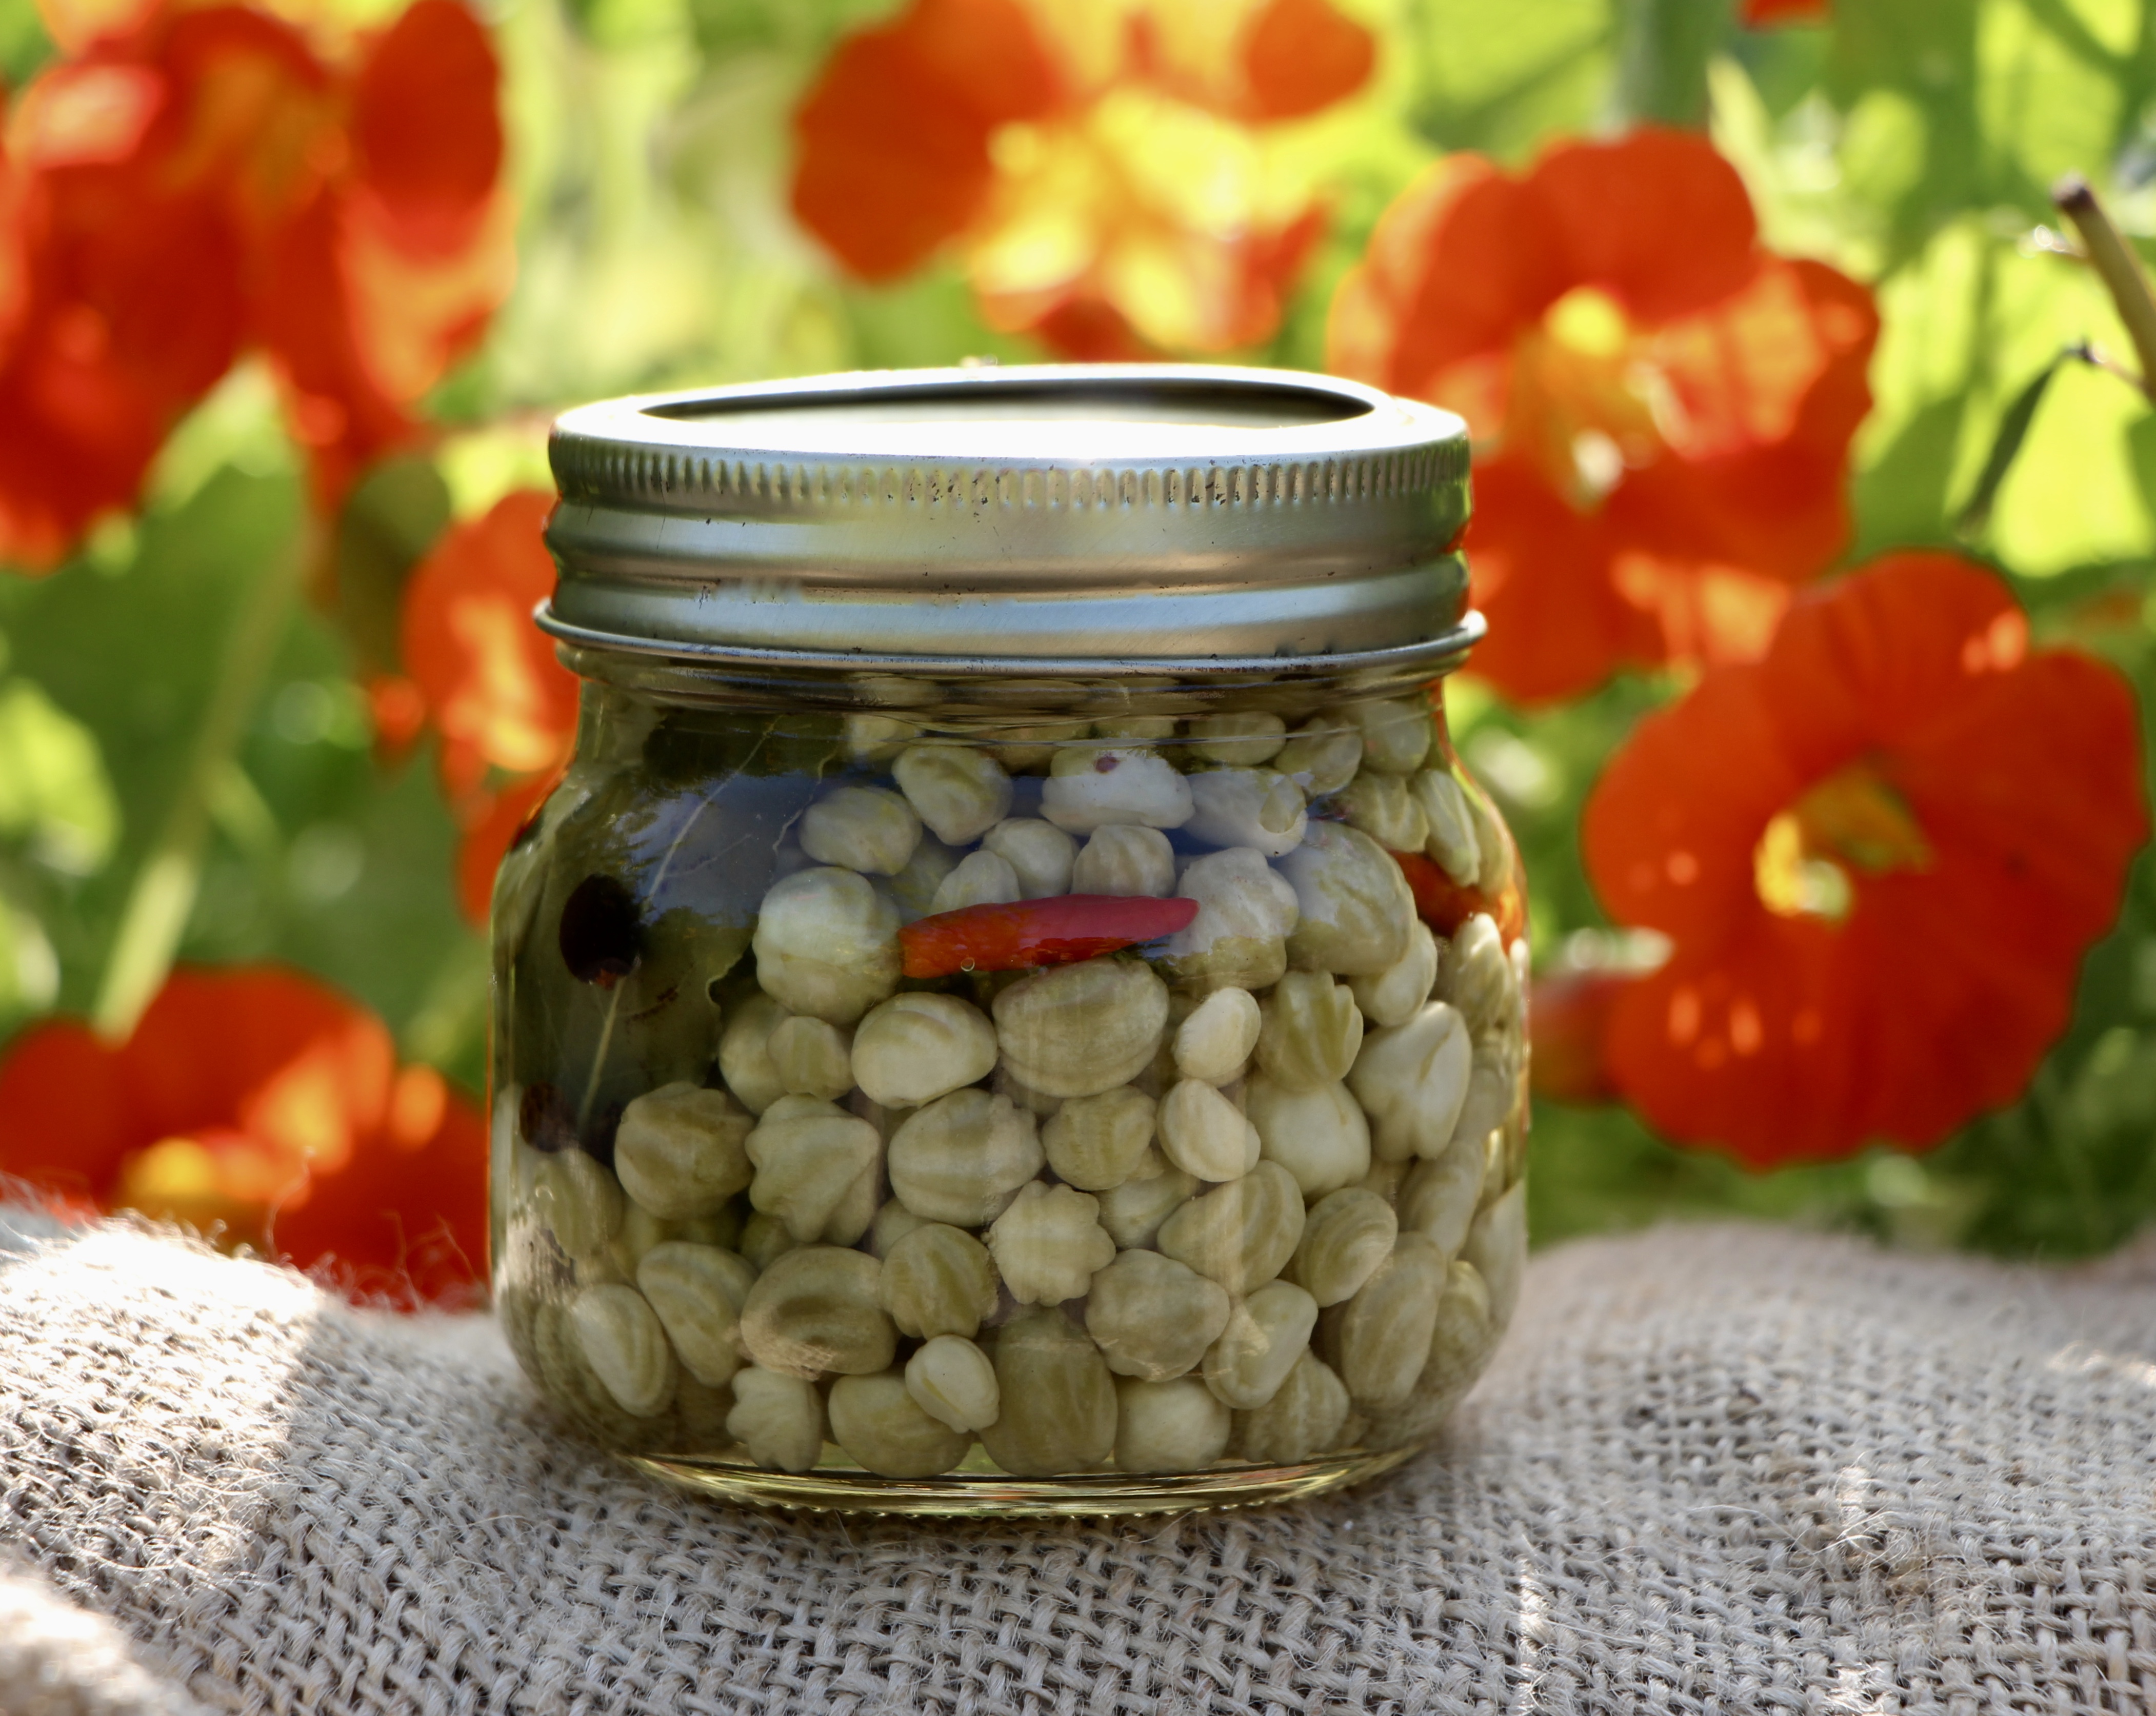
Pickled Nasturtium Seed Pod (a.k.a Poor Man’s Capers)
If I said I made Homemade Capers here in the UK, even I would light up….. but calling them Nasturtium Capers or Poor Man’s Capers, I know, I questioned it too. But these little pods are so similar to actual Caper Berries and can be used just as you would the famous Sicilian Capers.
Before even considering writing this blog, down on the allotment, I picked a pod and tried it, and did it make me JUMP, similar to when Mustard or Wasabi gets me right between my nostrils, making me cry and opening my sinuses, followed by a quick burst of heat. Yes they pack a powerful punch when picked young and according to my taste buds these pods are in the same category.
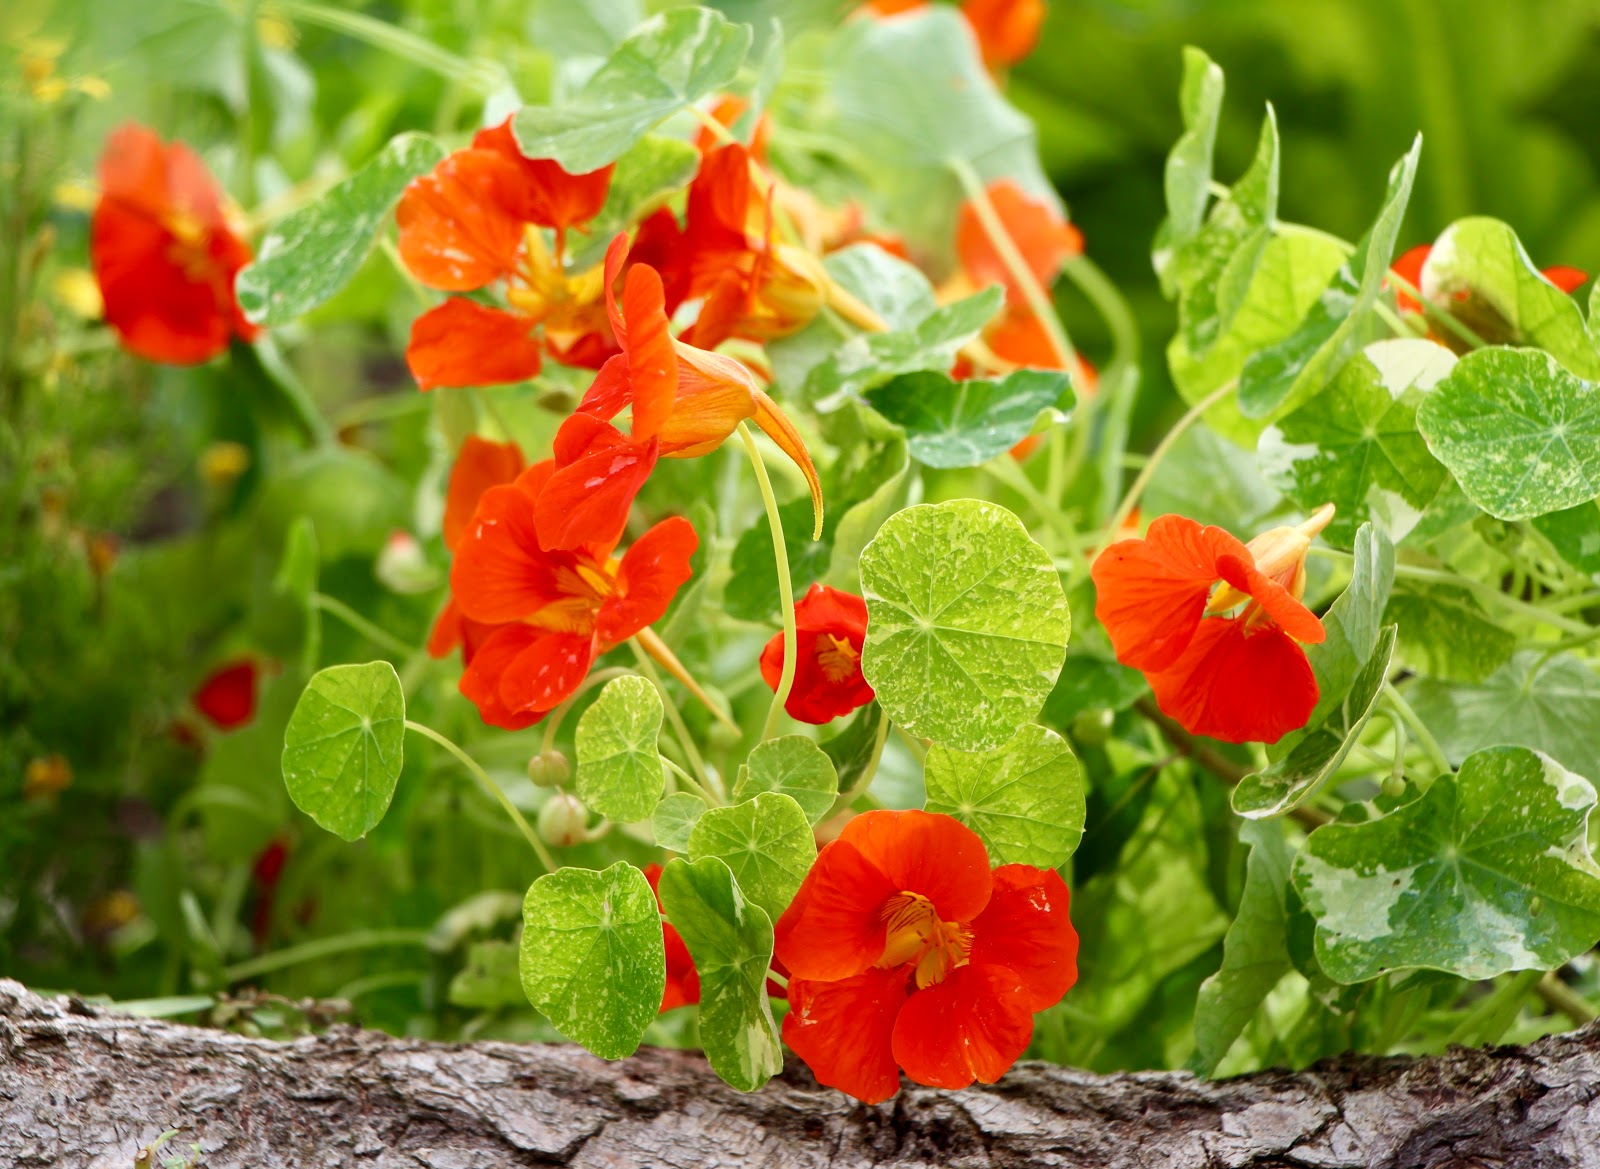
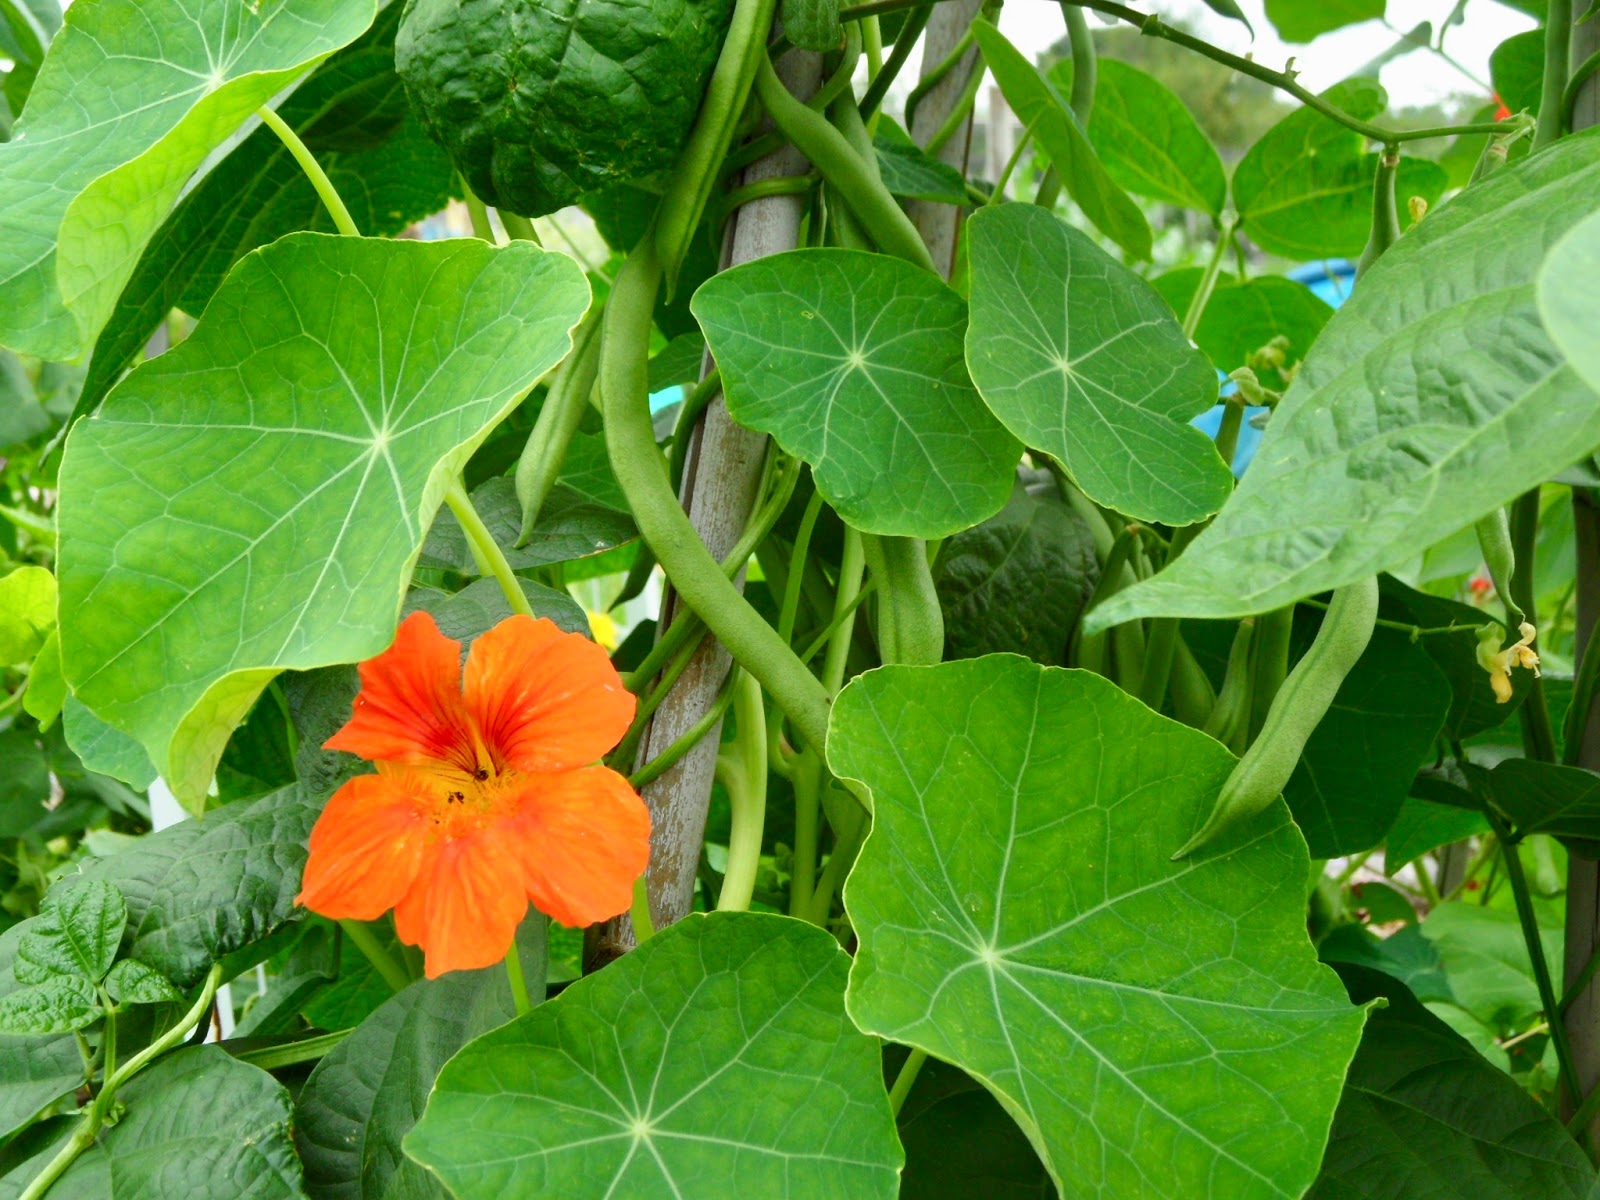
Only difference is Caper berries are the flower pods before the petals burst open and Nasturtium seeds are pods formed after the flower dies back. It is best to pick Nasturtium pods whilst they are still attached to the plant, and not the ones fallen on the ground. The fallen ones indicates they are ripe, noting the change in colour from green to light yellow and start getting tougher on the inside making it harder to pickle.
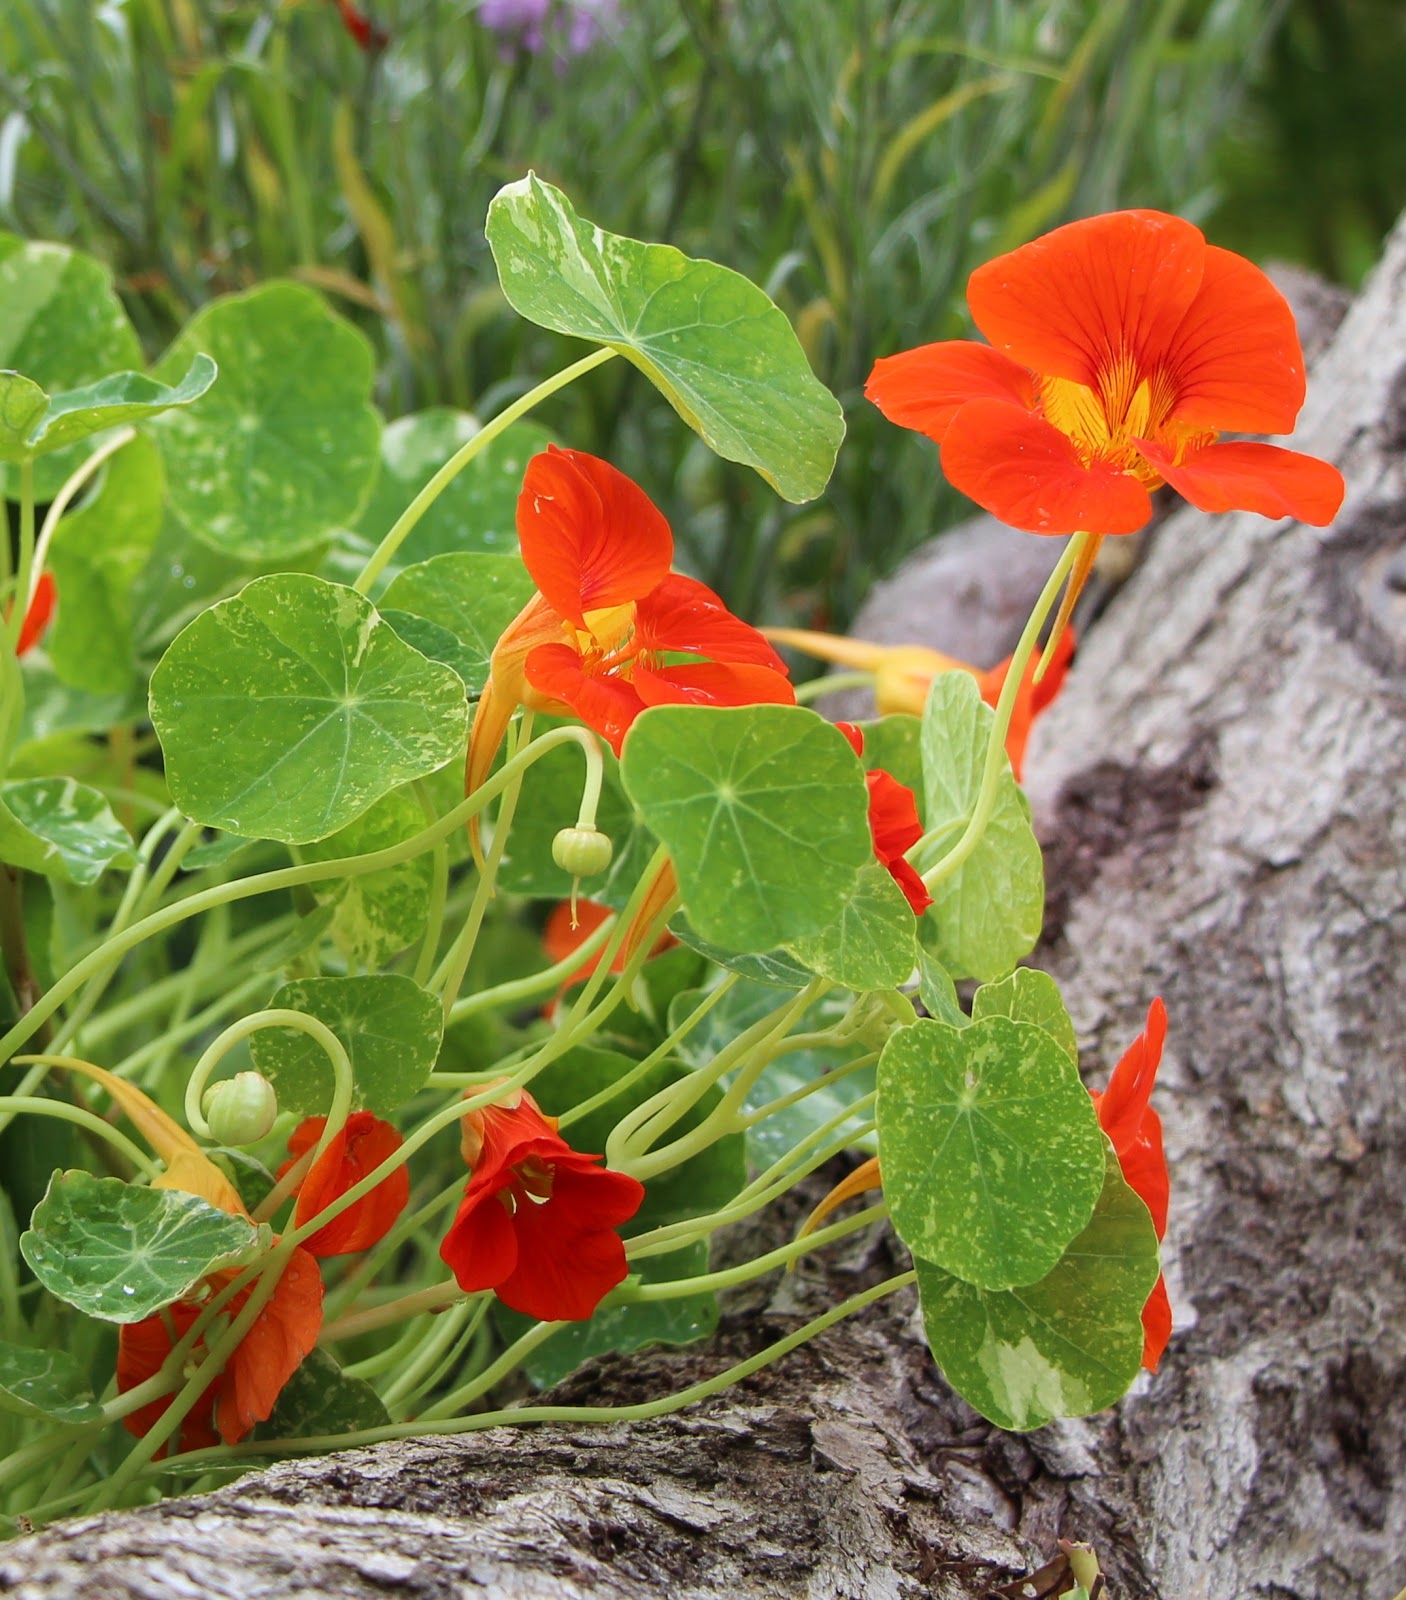
I must have around 15 Nasturtium plants around the allotment; The climbing variety are always sown with my beans, not only does it look pretty climbing up amongst the bean plants, but performs the organic job of attracting the black flies and aphids with none or very little blackfly on the bean flowers and young pods. On my allotment, Nasturtiums seeds are planted randomly around in my crop rotation, therefore there is always an odd that will germinate following year, where I do not expect it to. I never remove them, just work around the young plants.
It took me a few days to collect these pods, a slow process but managed to gather 190g of green pods. The next job was to break up into individual pods which are always attached together either in two or three. Examine them as you split them, discarding any which are damaged.
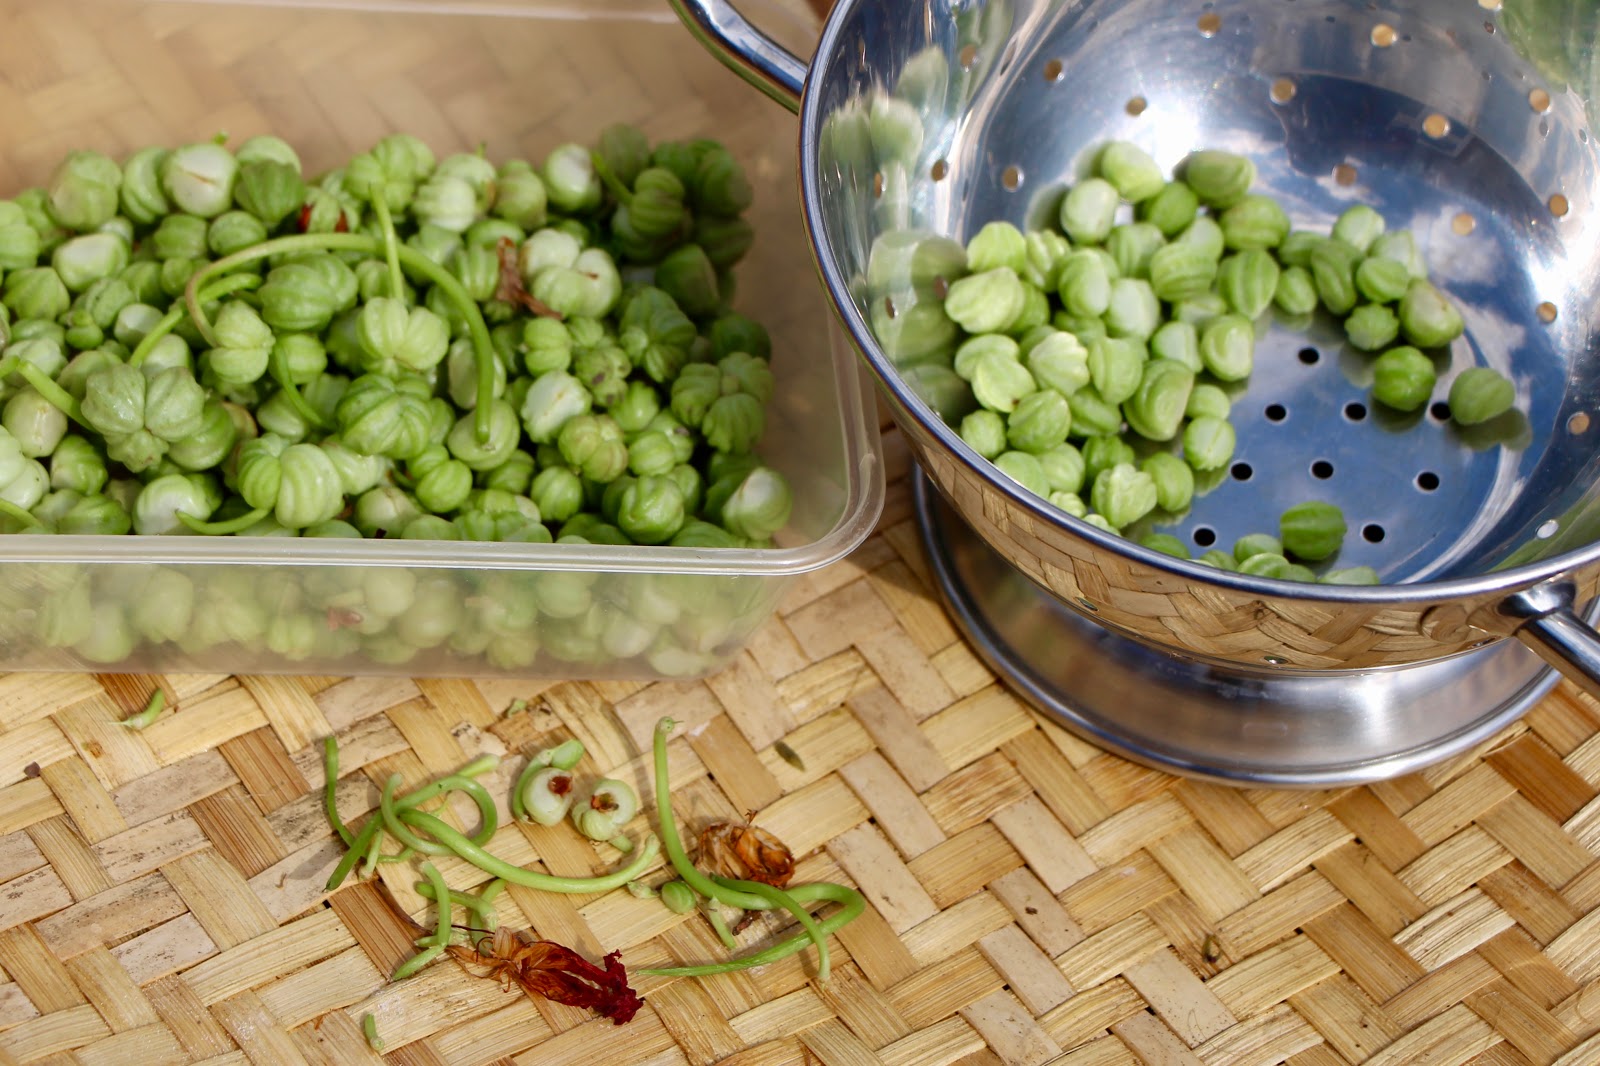
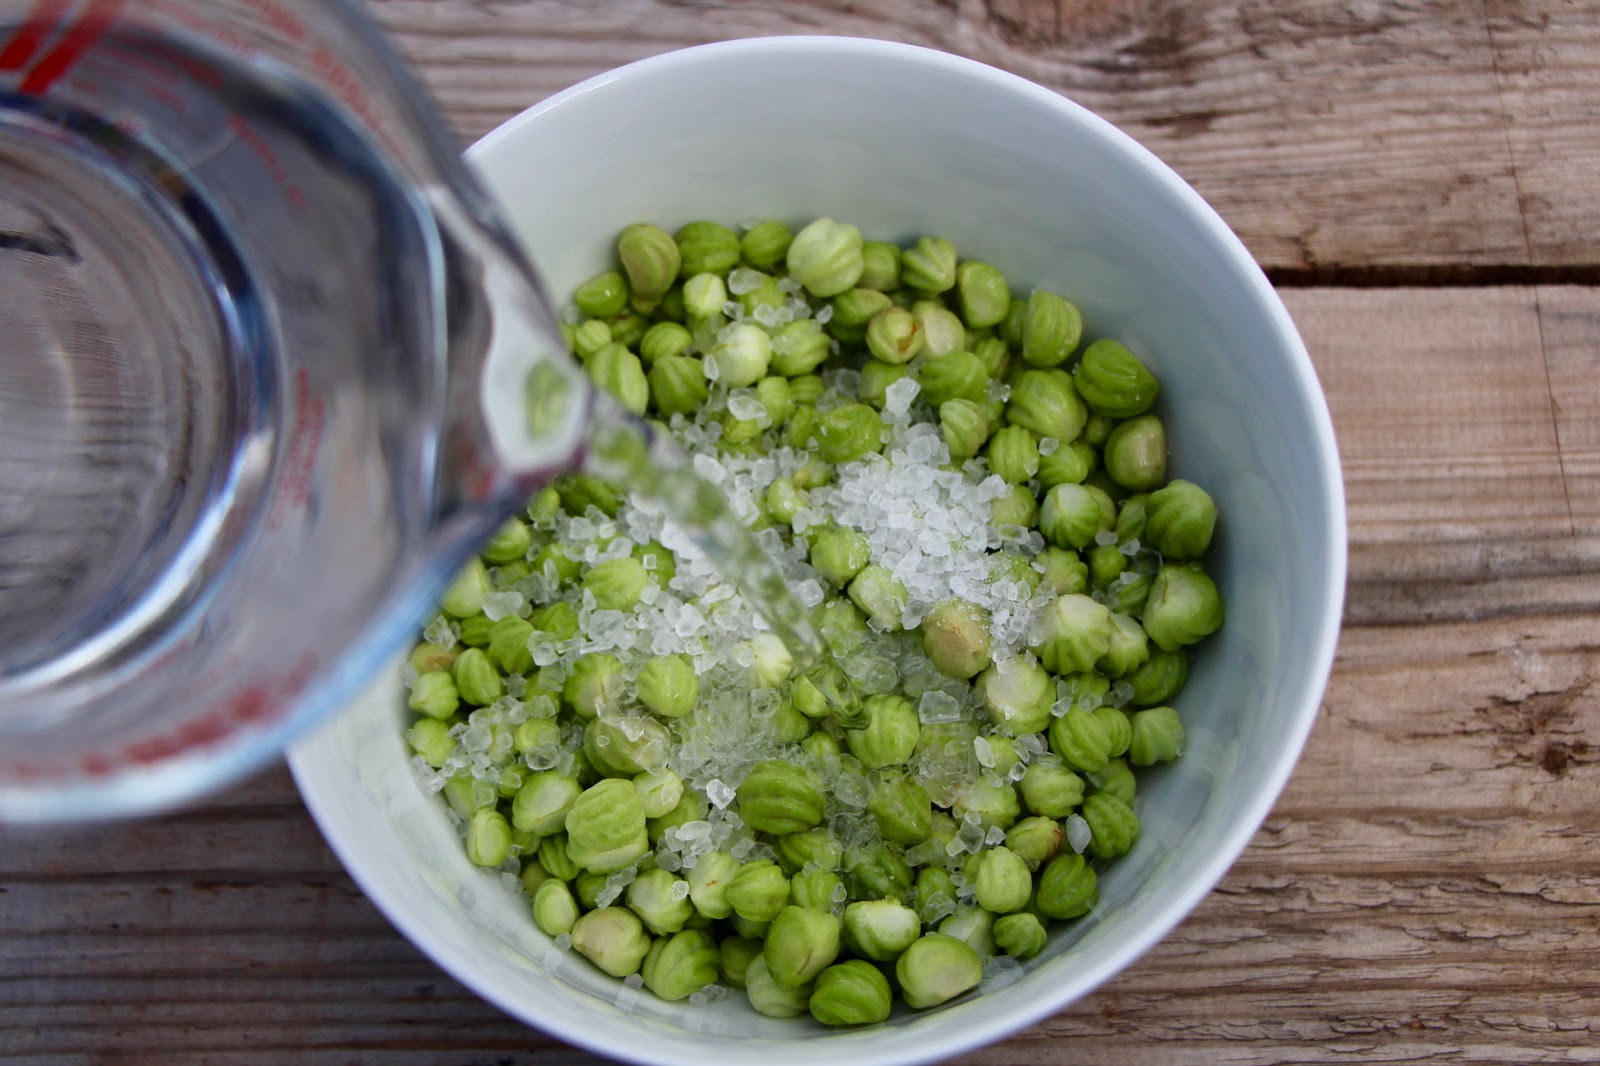
Next, wash them well, and make a brine solution with 2 tablespoons of rock sea salt in 250ml of water. Cover bowl with Kitchen film, allow to rest at room temperature for 24 hours.
Next day rinse out the Nasturtium pods and stand aside to drain. In the mean time wash with hot soapy water the small jars in which to pickle the pods in and sterilise the jar in a preheated oven of 100˙C for at least half an hour or until required, no harm in leaving them in the oven longer,
As for the Pickling Spice, I don’t go according to other recipes, I use what I have in my kitchen cupboards or in my herb garden and remember there are more than 2 ways to make these recipes work. Use what you like, does not have to dry spices, could be fresh strong herbs like dill and thyme. Since I always brine using dill and garlic, I have left them out of this recipe.

To make the Pickling Vinegar for this small amount of pods place 150ml of vinegar with 50ml of water in a non reactive pan with a couple of fresh bayleaves, 3 or 4 Juniper berries, 5 to 6 black peppercorns and a quarter teaspoon of coriander seeds. Also added half a teaspoon of salt and I always add a little sugar no more than a quarter teaspoon. Leave a few of each spice aside for the end stage. Bring to boil and allow to simmer over a very gentle heat for up to 20 to 30 minutes, keeping an eye on the liquid level.
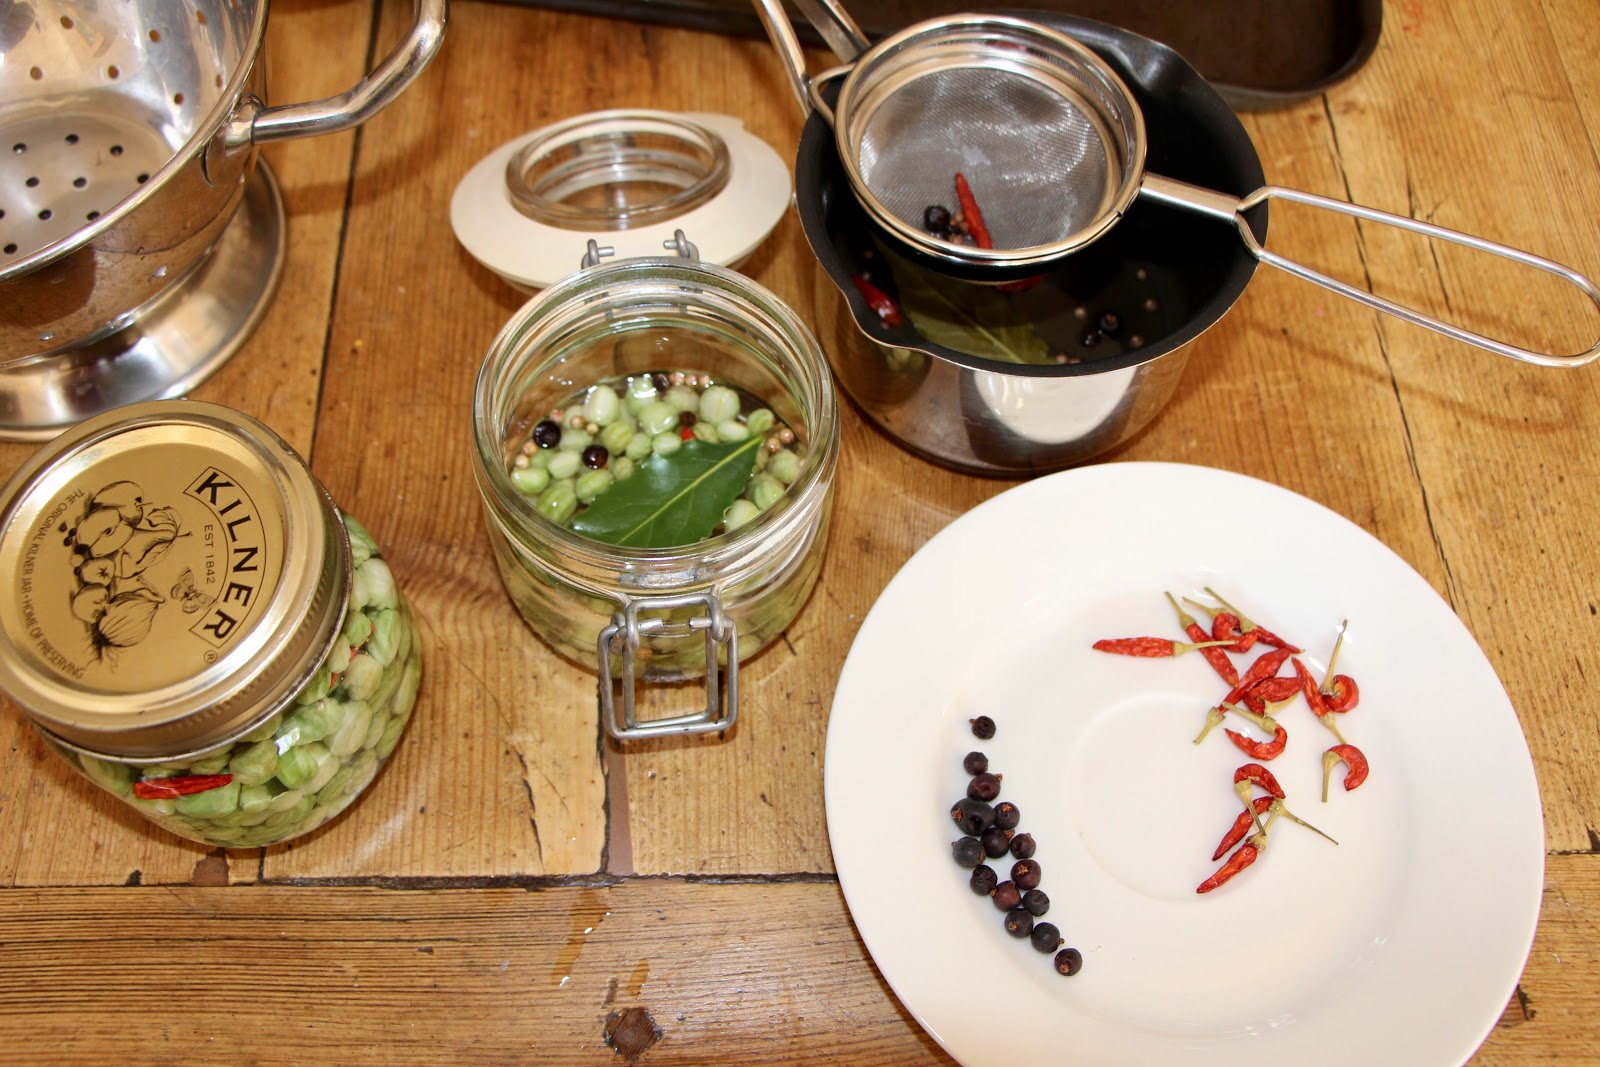
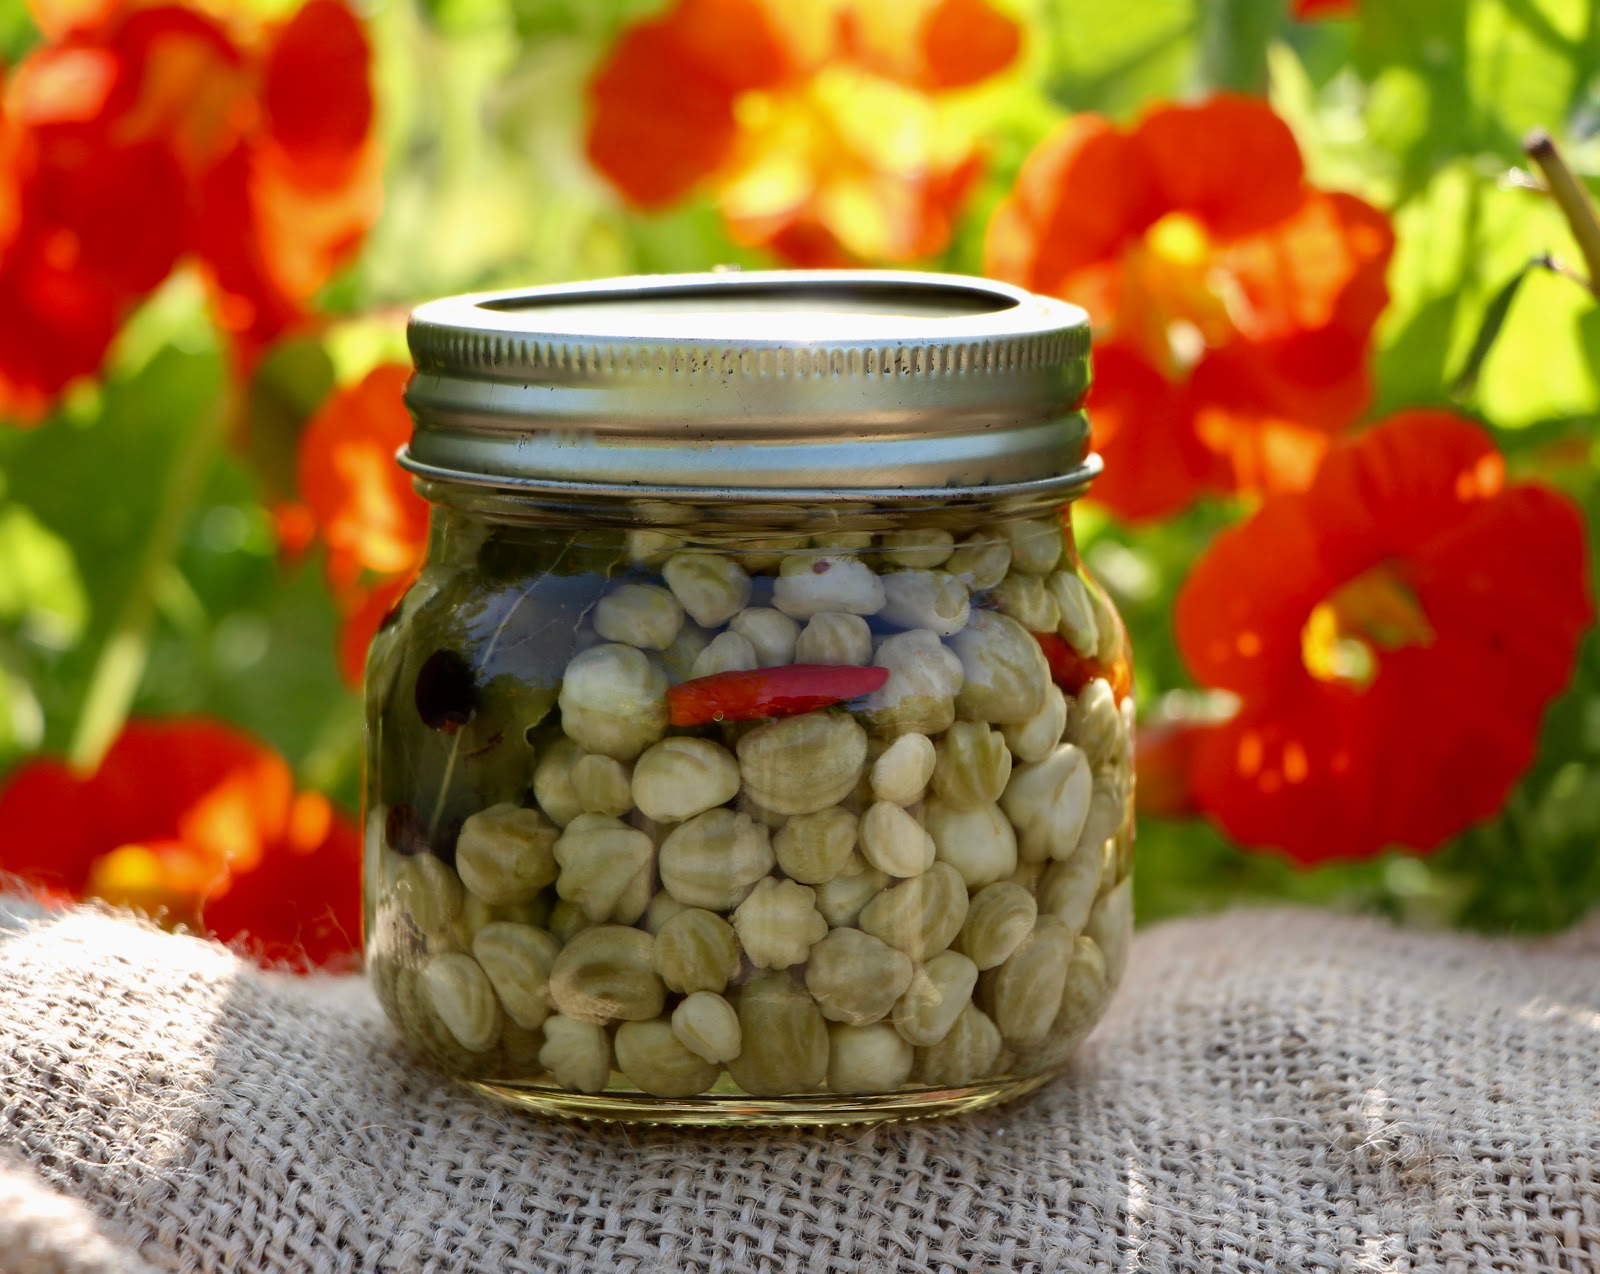
Remove the jar/s from the oven and careful pack with nasturtium pods adding a few pickling spice used to season the Pickling Vinegar. Quickly top up jars with strained Pickling Liquid.
Close the jars and allow to cool completely and store for up to 3 months prior to opening and using the Nasturtium pods.
Note: I did open 1 jar after a week, to see if brined nasturtiums are tasting similar to Capers. It is early days but I am glad to say, they are ‘brining the right way’.
