Red Cabbage: Sadly so underrated
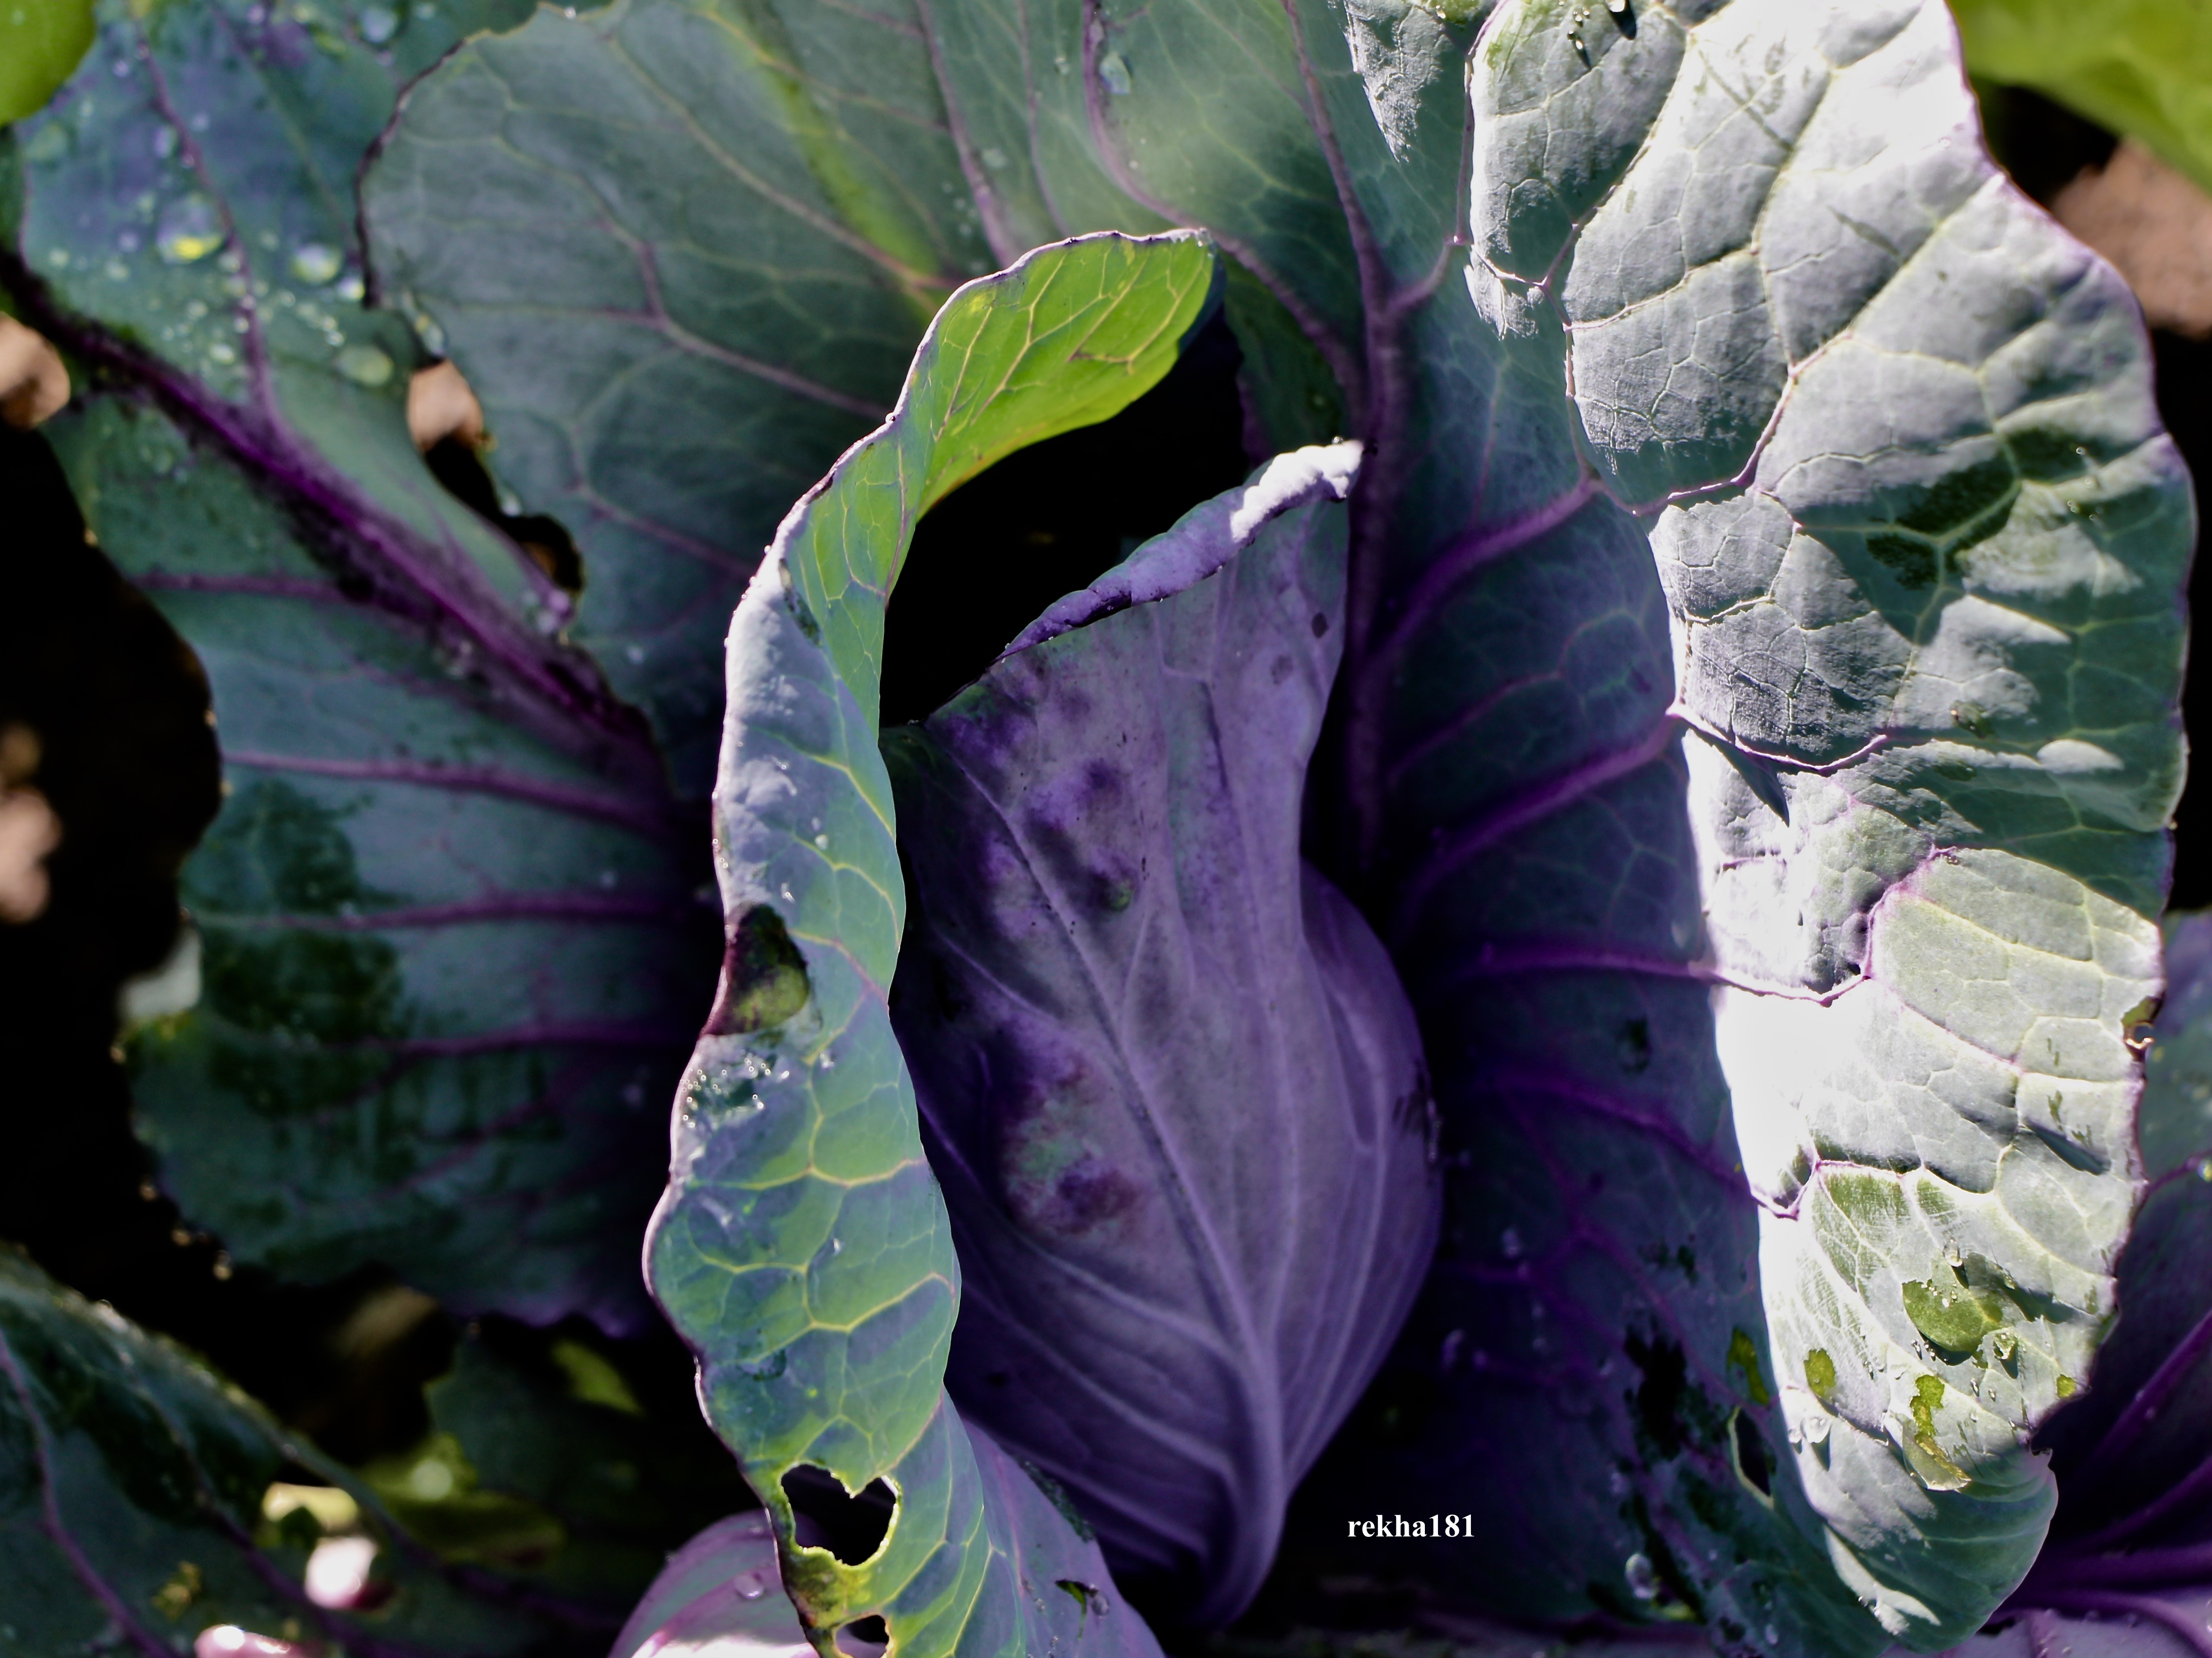
Since having an allotment, it has become a joy to cook with different vegetables, which we would not normally entertain in our home. Growing my own has helped me experiment dishes and at the same time enriching my mind with all the wonderful culinary dishes.
You see, I find it a bit strange the pickled Red Cabbage is popular here in UK, but on research about growing this vegetable, it actually was a very popular variety to grow. We just seem to have fallen out of love growing and using this underrated vegetable. I still cannot understand why.
On The Allotment
I wouldn’t normally grow Red Cabbage; Spring and Savoy Cabbage, yes, grow these without a second thought. And I have also notice not many plot holders grow these either.
Once you grow your own; I’ve quickly learned, Red Cabbage, just like Brussel Sprouts and Parsnips, tastes sweeter after a spell of frost. In the past, bought and eaten the shop variety, and was half expecting my own grown to taste the same. Before the frost, we tried 1 own grown Cabbage with mixed comments on the taste and honestly speaking, taste was closer to a shop bought variety.
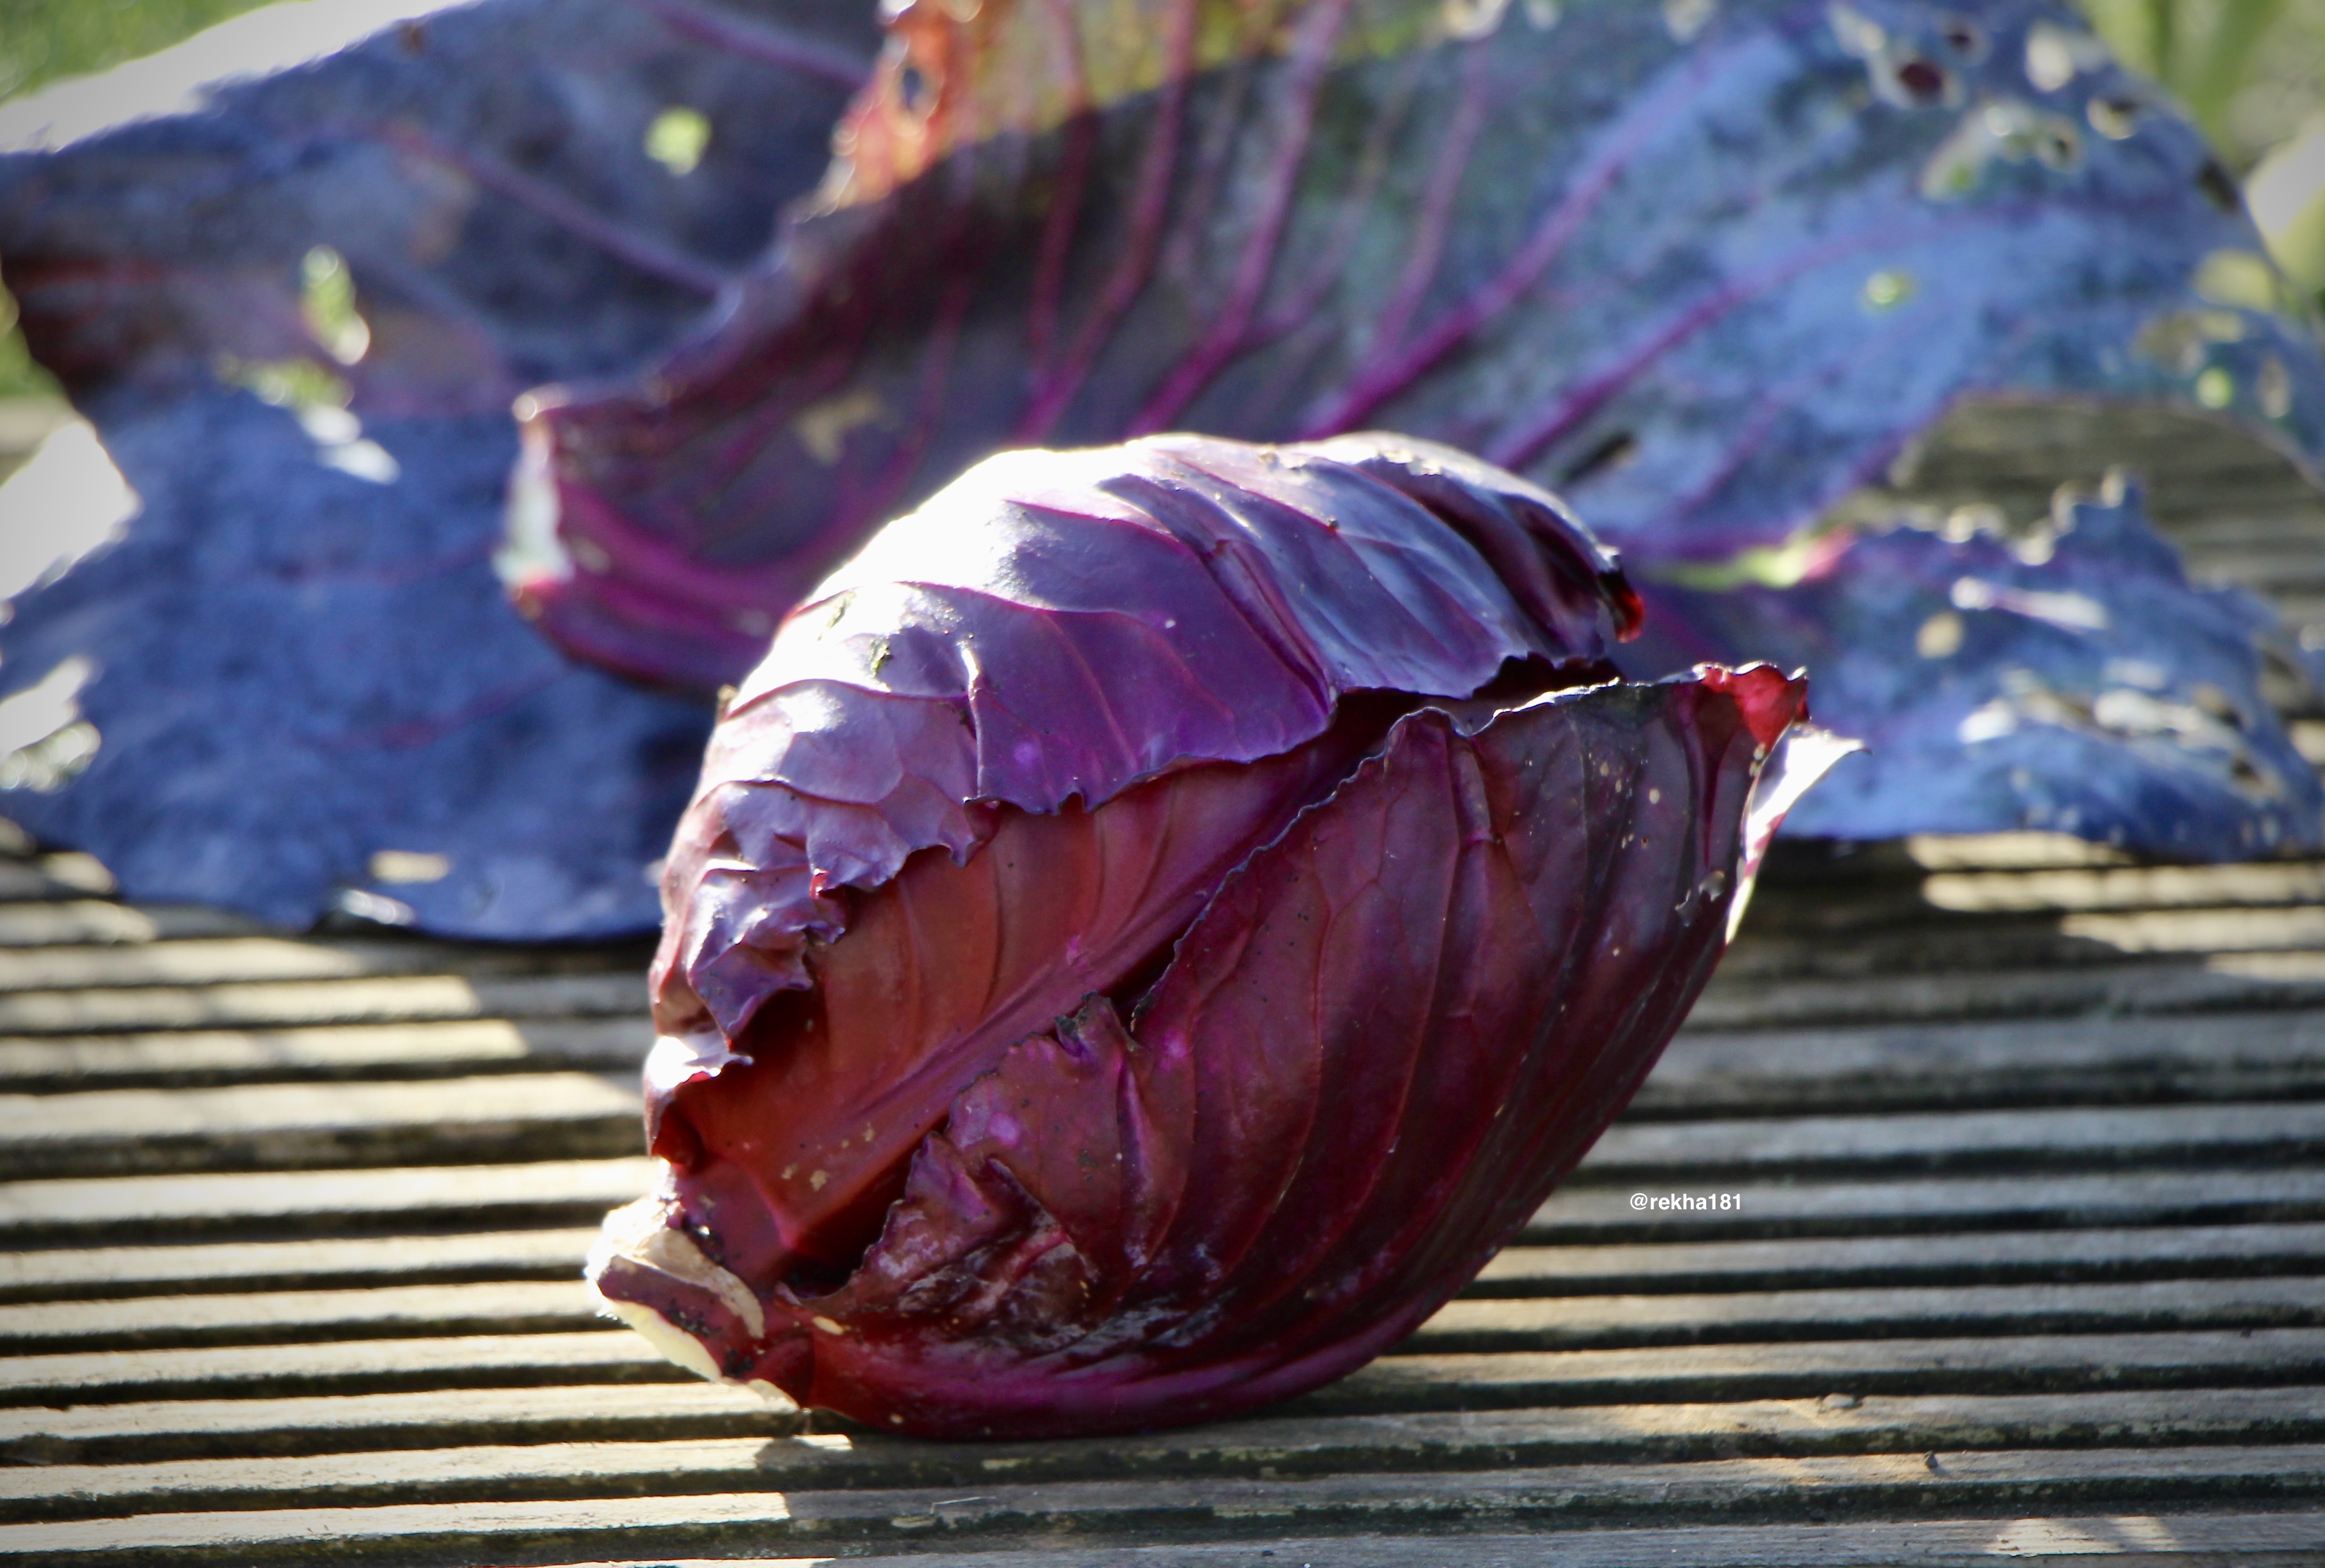
Harvested another head, a month later (after the first frost), and this time we were eating it raw in a salad combination. Amazing how a little frost changes the taste, giving the vegetable such a wonderful sweet and crunchy taste. Grow your own Red Cabbage now wins my vote!
I’ll be the first to agree, Cabbage, whichever variety, is not the easiest vegetable to grow organically or otherwise, with the slug pest first to claim as its bounty. By the time slugs have been removed from the equation, the Cabbage White (butterfly) wants its share too! But with some careful soil management it is possible to grow all Cabbage varieties. Most natural way to reduce the slug pest is with the use of nematodes. I have used it in the past and this year I plan to make my own.
Last year I grew a lot more Red Cabbage then the Summer or Spring varieties, and I am glad I did so. There is a steady supply of ‘Red’ Vegetable in the winter harvest, bringing a welcome change to the colour palate on the dinner table.
In the Greenhouse
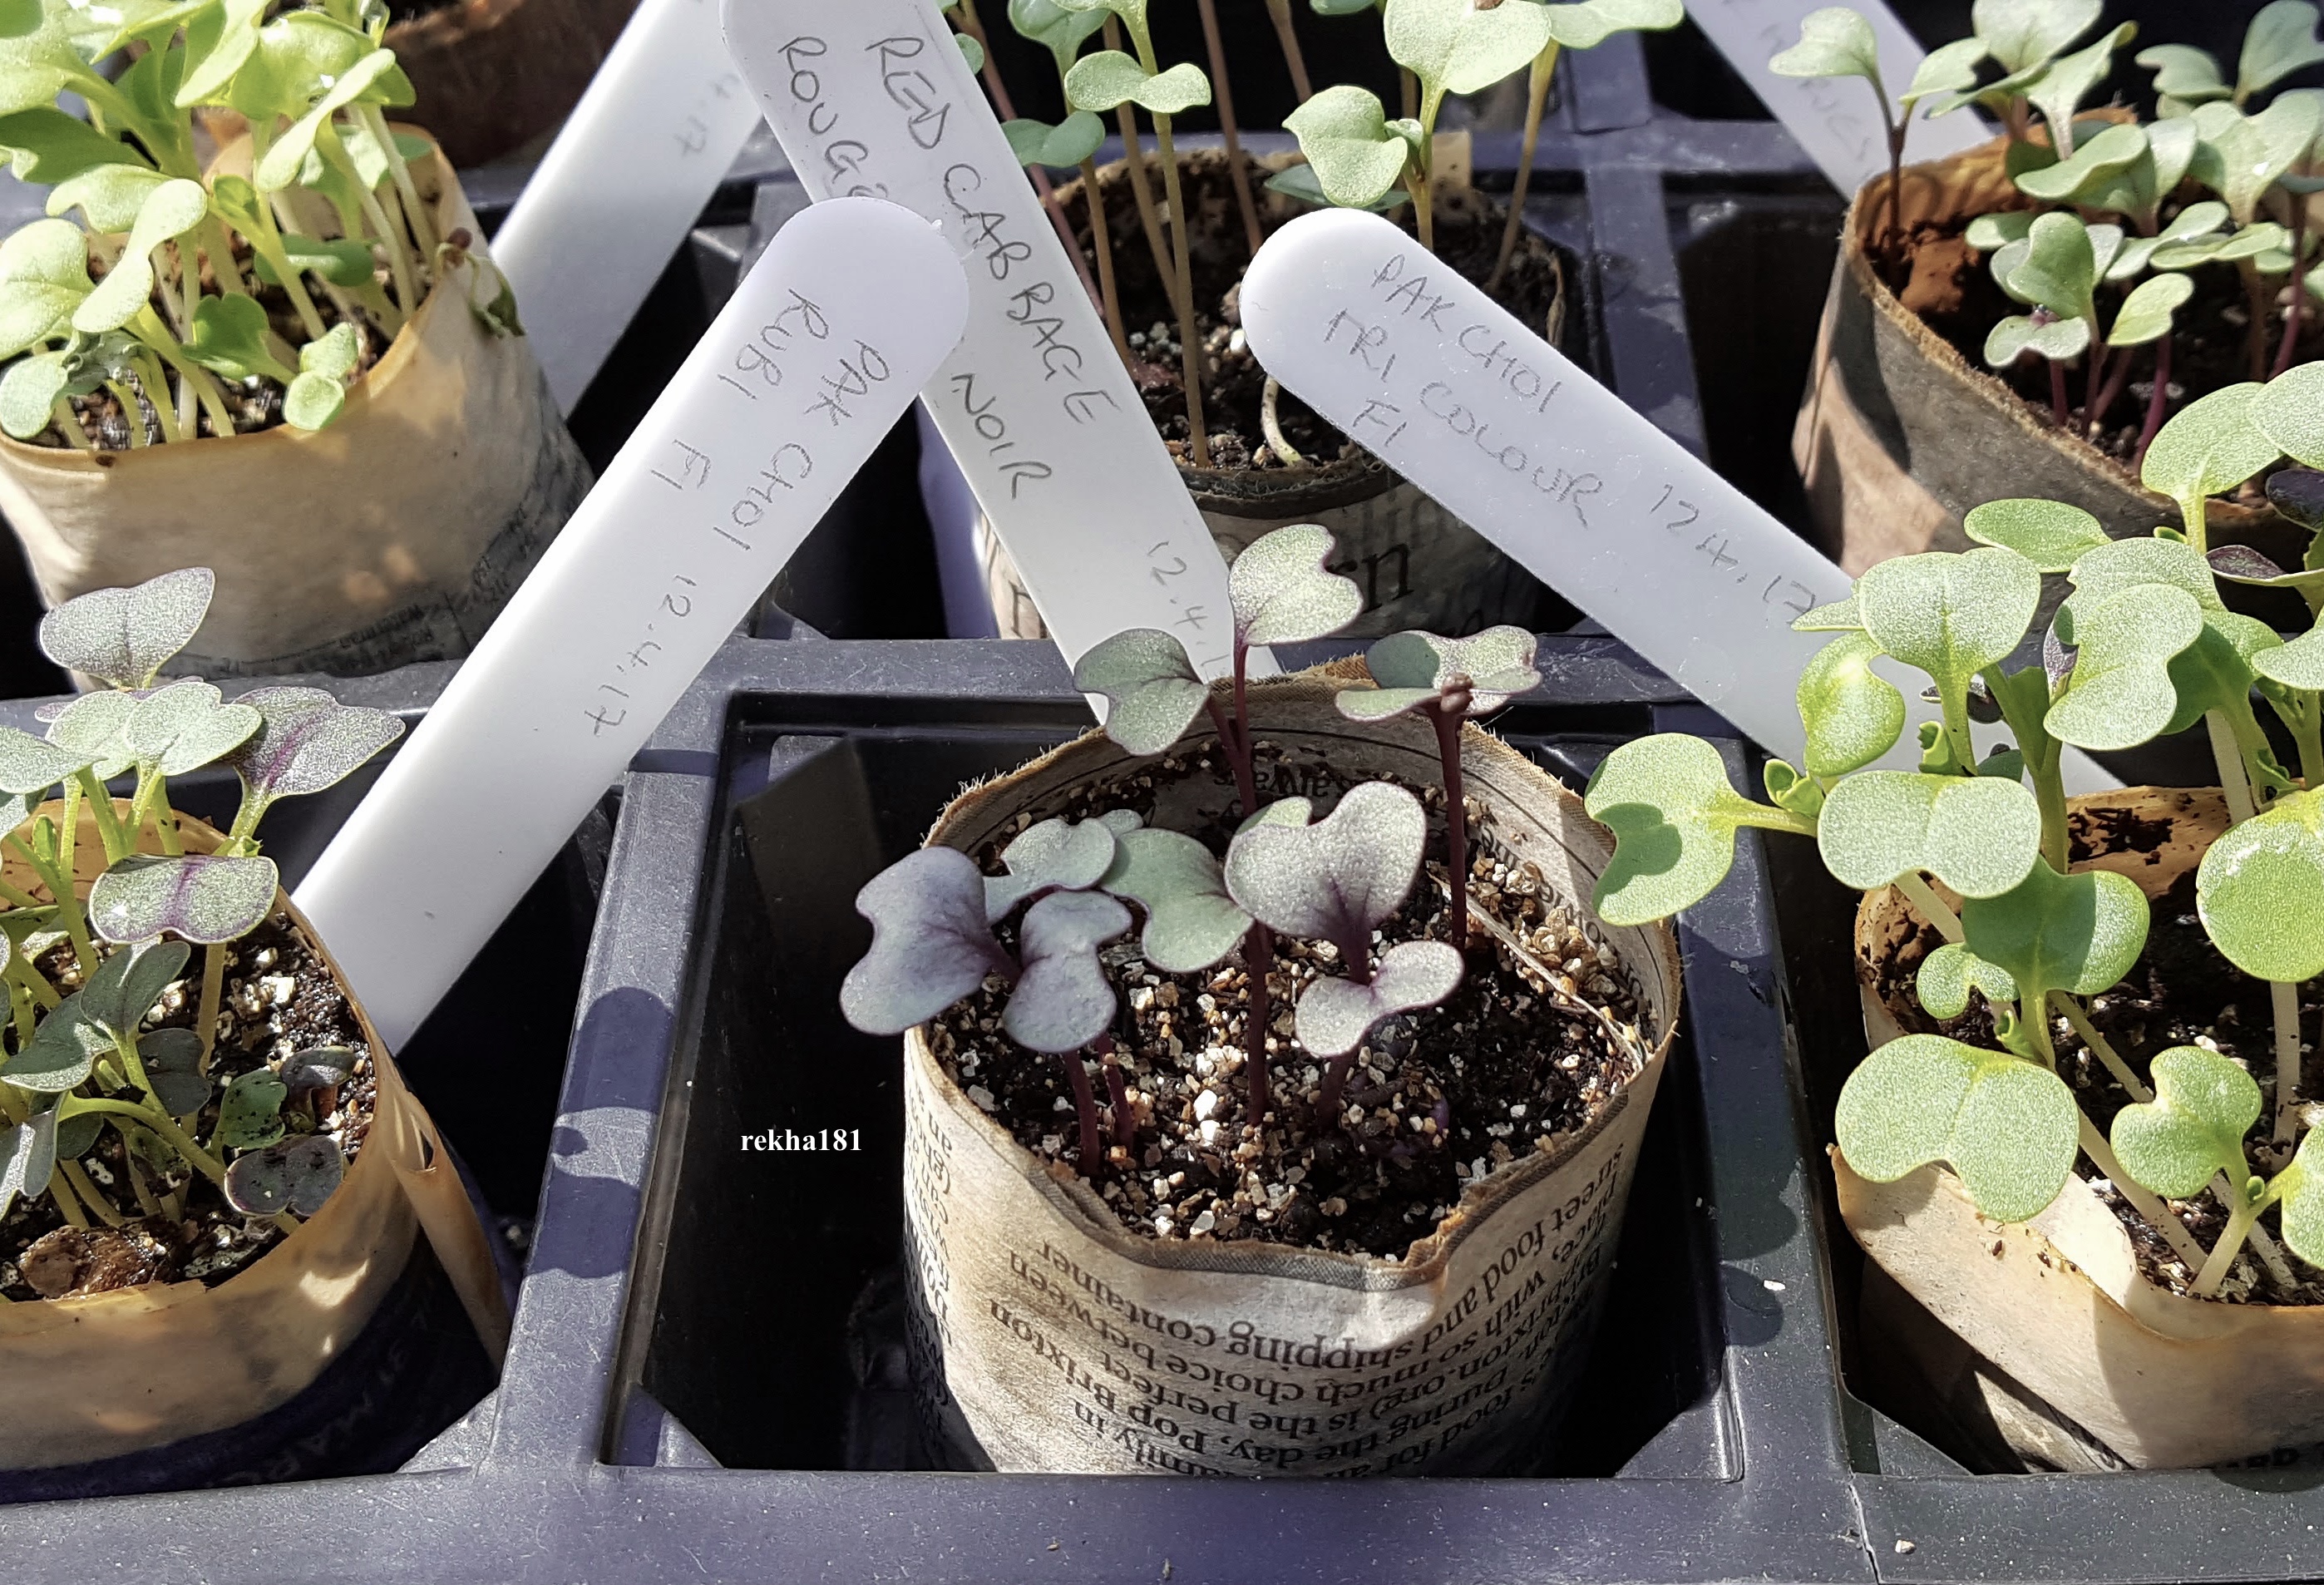
Sow a few seeds at a time, with a 3 week spacing between sowings. This will ensure a steady supply of Cabbage during the winter months, with not all maturing at the same time (if all sown at once), a mistake I made when I first took on an allotment.
When seedlings show the second set of true leaves, I transplant seedlings into individual 6cm (diameter) paper pots, using peat free compost with a little seaweed added to the mix, which will be planted out once they are hardened off (to climatise the seedlings from greenhouse to outdoor conditions).
On the Allotment Plot
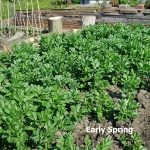
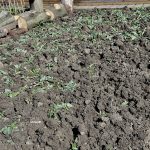
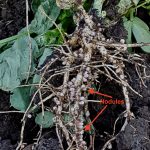
Soil Fertility: Where the Brassica section is to be this year in my Crop Rotation, the overwinter Field Bean (Green manure) are chopped down and turned in. This allows the Nitrogen Nodules on the roots (visible when digging up the roots) to get activated when the plants are chopped down, and releases the natural Nitrogen held in the nodules. Once dug in allow the soil to settle down over a couple of weeks. Going over the second time, giving the soil a final level of tilth, ready for Cabbage and any other brassica plants to be planted out in their final positions.
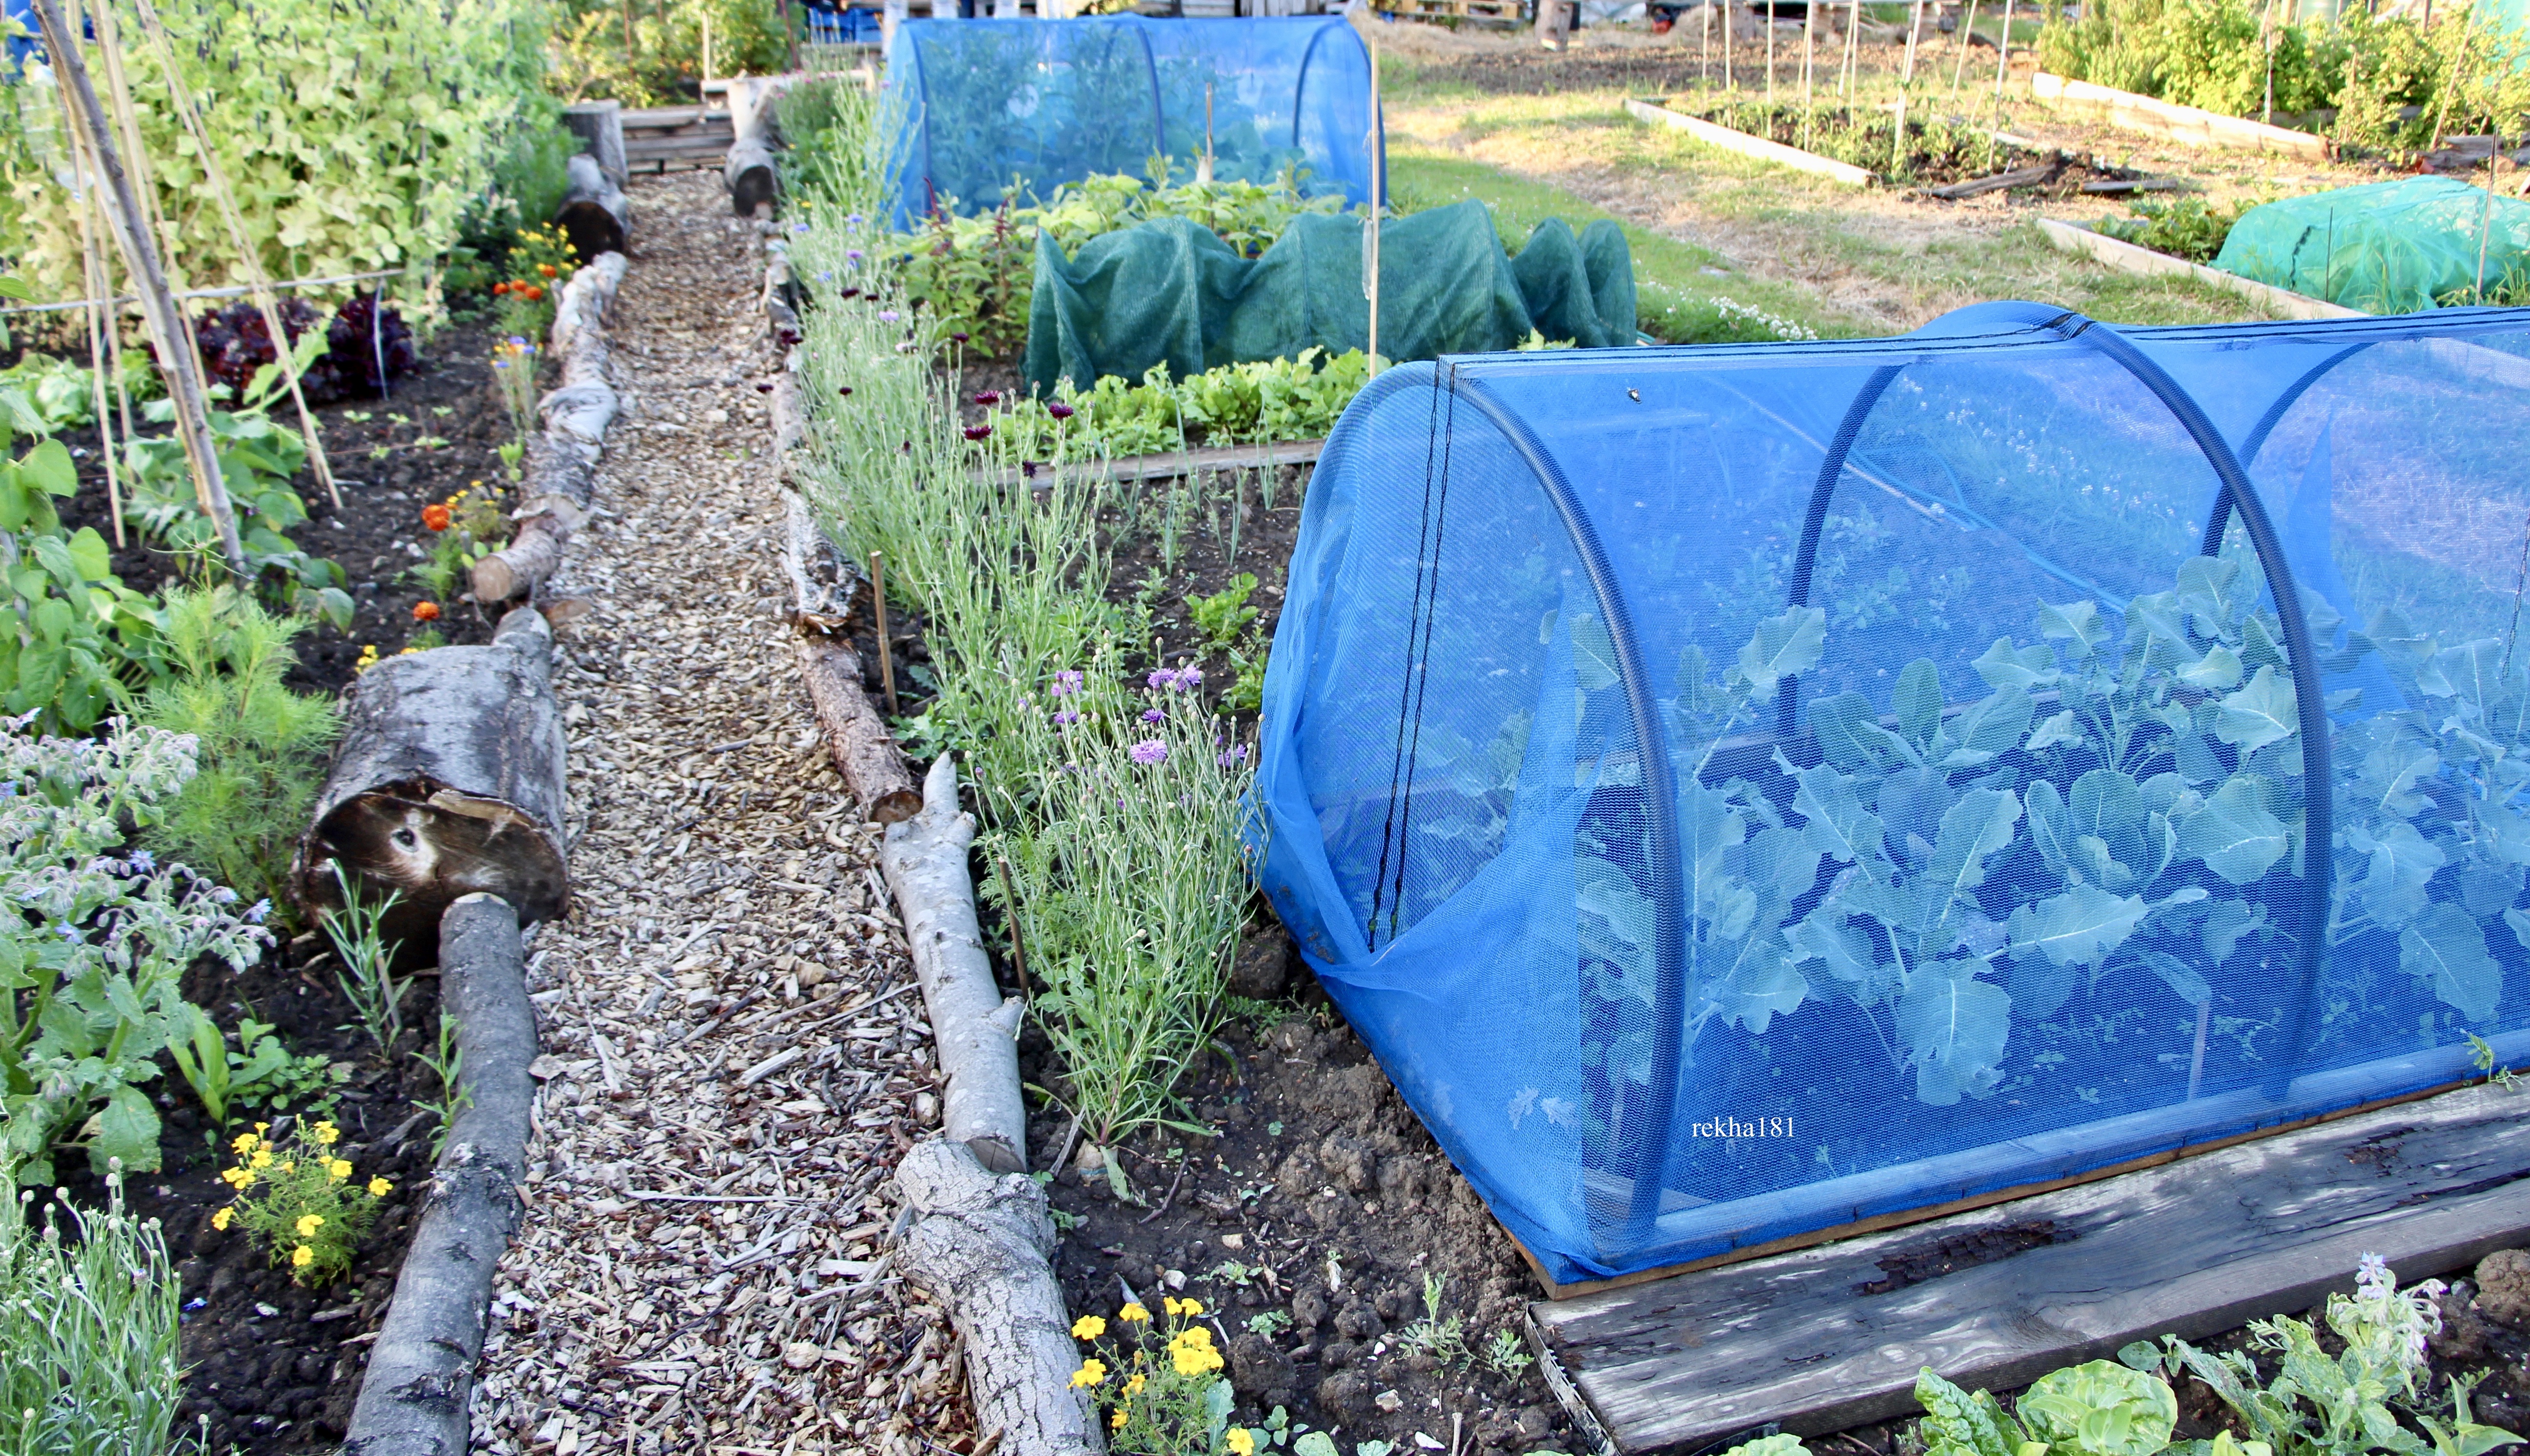
Planting Out: General rule of spacing between most cabbage varieties is at least 30cm between plants and rows. I throw the towel in on this rule, and space them 20cm between plants, only because I do not want to grow huge cabbages, but will always keep the distances in rows. This spacing helps with easy access between the rows, to attend to weeding, feeding and general checks. Once planted, and watered in; a generous helping of crushed egg shells is applied around each plant (slug deterrent), monitoring plants twice a day until established.
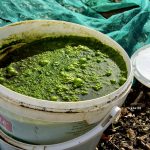
Organic Feed: The only feed used on my Cabbage plants and all the other brassica is home made nettle feed . In the early days I drench whole plants with this smelly liquid feed, I noticed it kept the Cabbage white away for a while. Later as the heads start to form, feed is only applied on the soil around the plant.
Netting: All there is now to do is look after these brassica plants. Covering these plants is necessary, not only to keep the Cabbage white away but also the bird pest (our allotment site is a target for pigeons) . Just like my netted frame, many plot holders on my allotment site make frames and attach the netting to the frames. This just helps with easy and quick access to the crop when weeding and harvesting and also light enough to move around the plot during crop rotation.
Harvest: Because this Red Cabbage is grown for Autumn-Winter harvest, harvest can begin as early as September. Although this vegetable will not survive right through to Spring. I now have a couple heads left on the plot and soon will be harvesting Savoy Cabbages.
Having shared with you my process for growing Cabbages, I am pleased to say, Red Cabbage will be making an appearance on my plot again this year. Will you be growing this Cabbage this year? What are your go to varieties of Cabbages? And are there any varieties you think I should try? Love to hear your thoughts.
In the Kitchen:
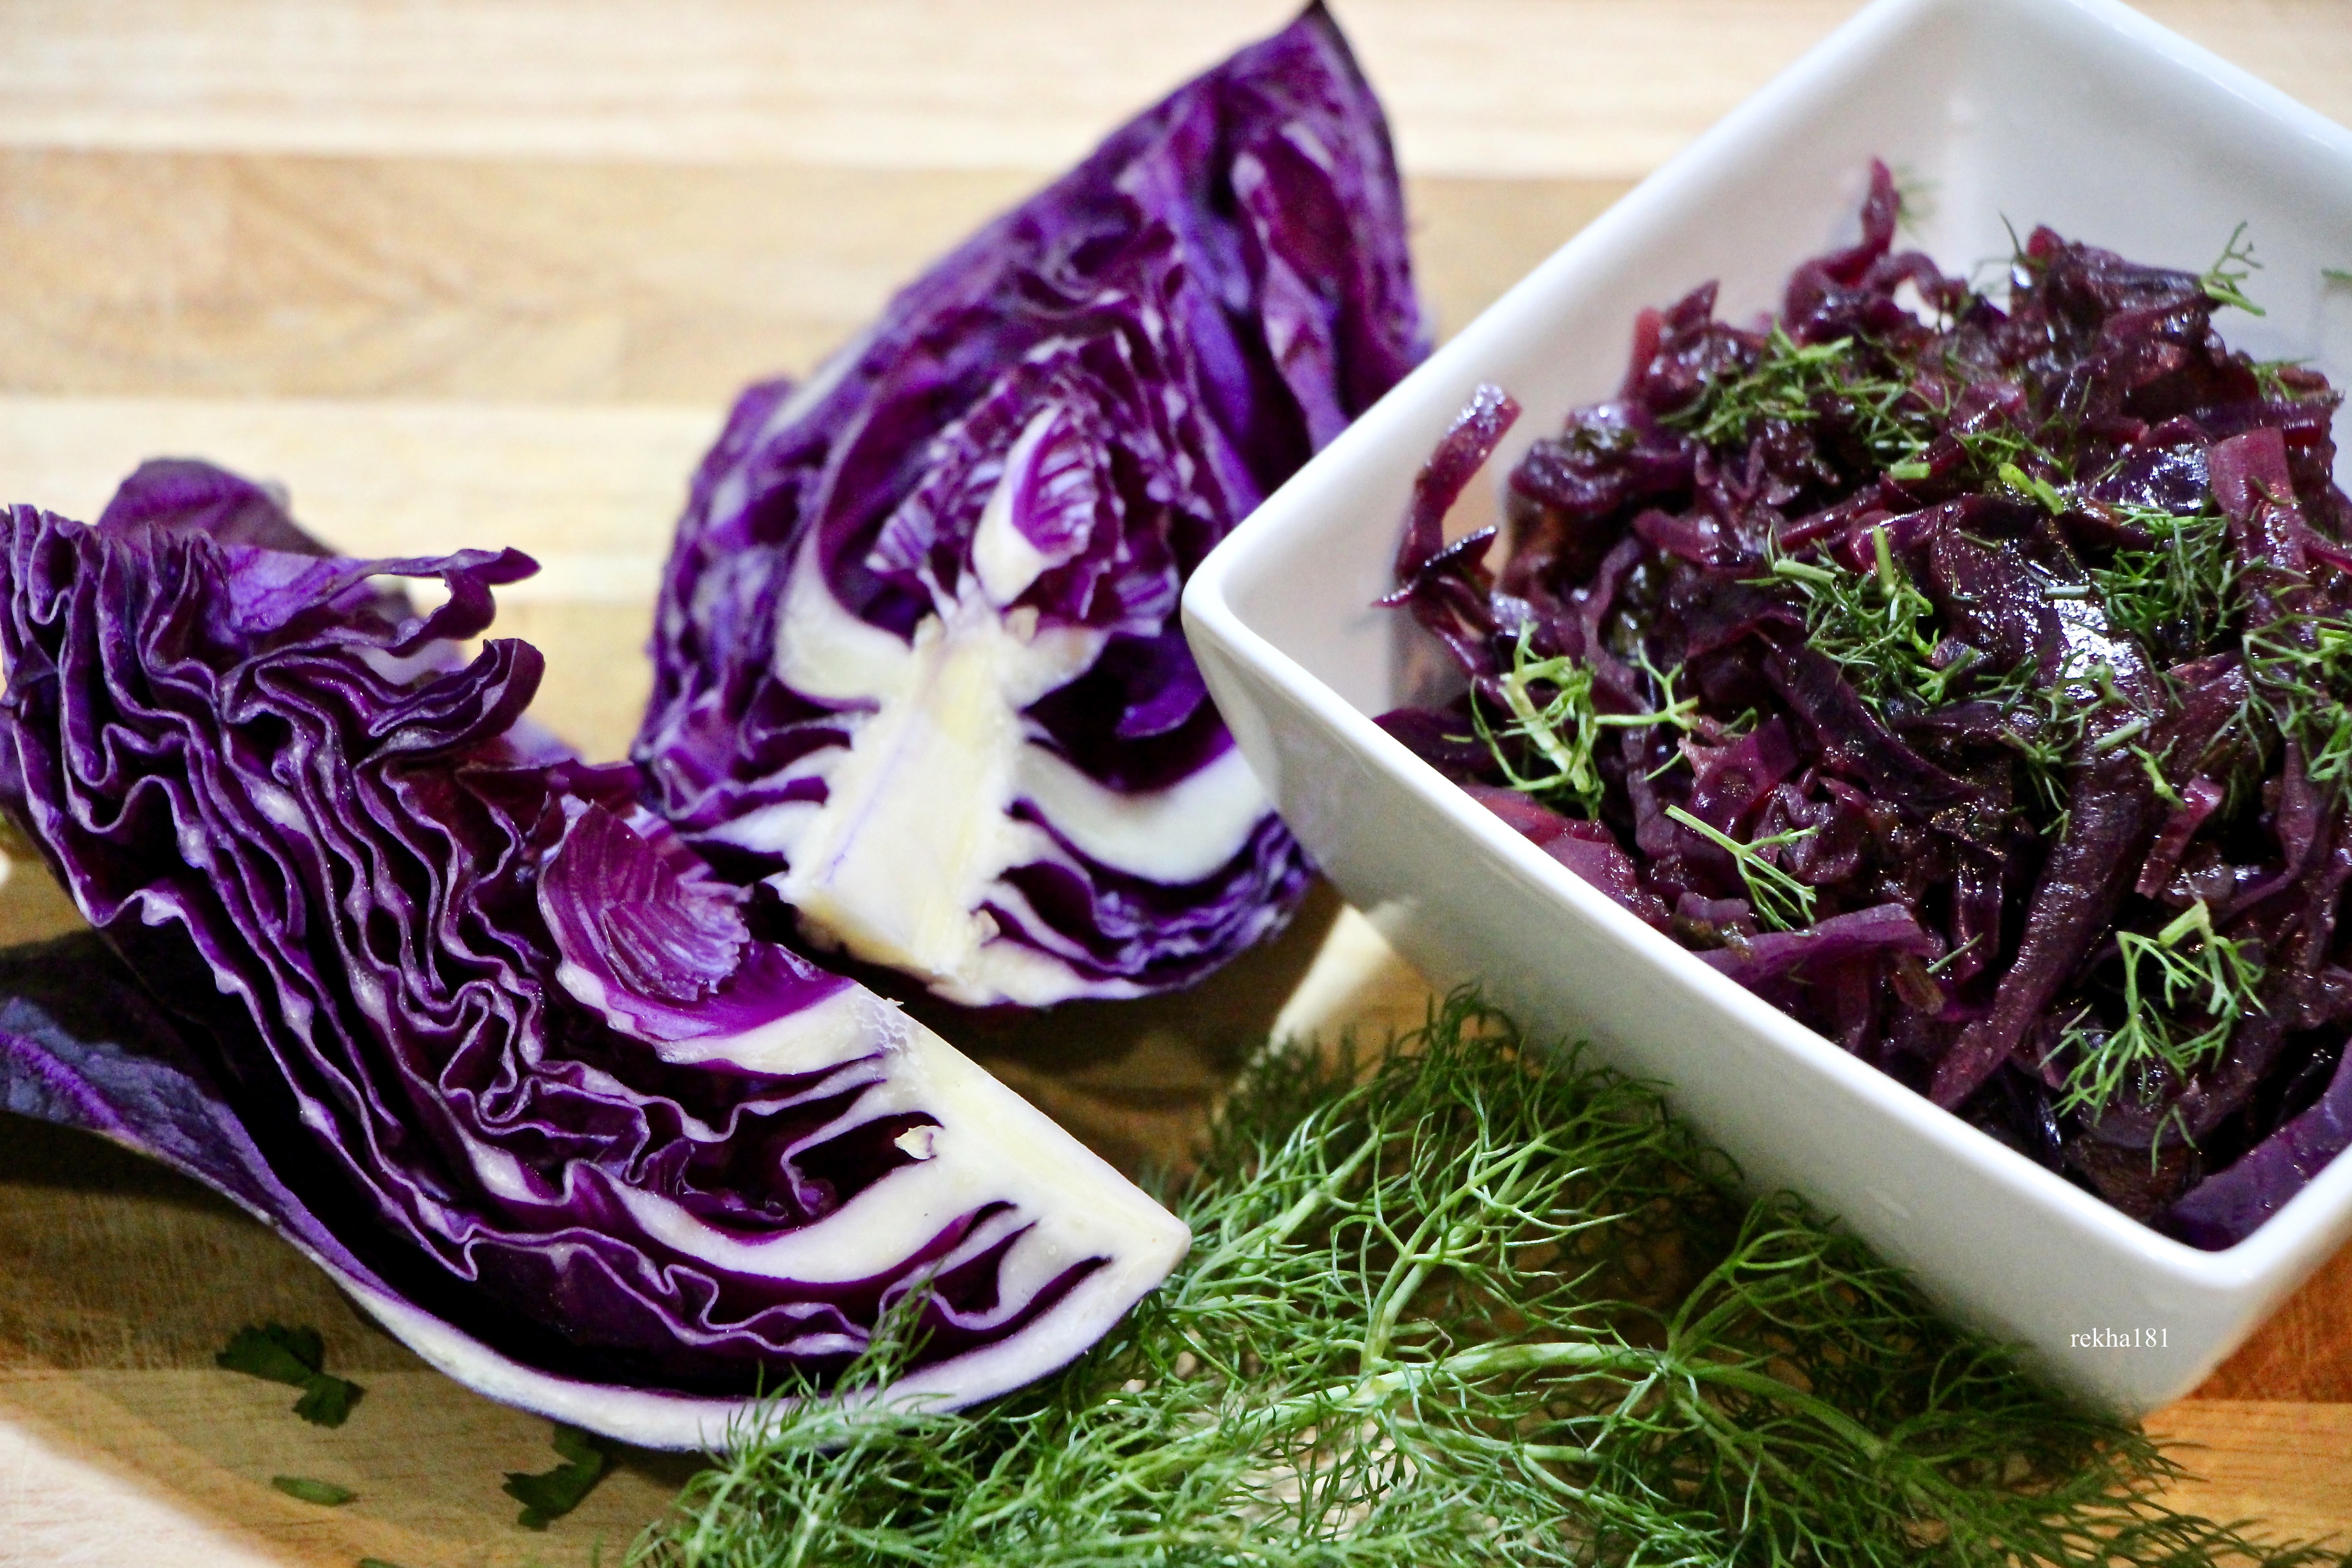
I made some Braised Red Cabbage adding organic own grown saved herb seeds of Coriander and Fennel. Although most of the fennel is hit by frost, I still managed to harvest a little green tops to use has a garnish in this recipe.
Happy Gardening,
Rekha.

Very nice article! I must admit I was growing red cabbage last year and I really loved its beautiful leaves, colour and shape. I did like growing red cabbage but didn’t enjoy eating it! I couldn’t figure out what to do with it!
I will follow your advice about the first frost and try to add it in salads.
Thank you.
Harvesting after first frost is key when it comes to taste test, just like Sprouts and Parsnips.